How to Get Started with Rella
Last updated: September 7, 2026
Set up your workspace, connect your accounts, train Ella on your brand voice, and start planning and approving content across all your social channels.
1. Customize Your Social Spaces
Social Spaces keep each brand, business, or client organized in its own dedicated workspace. Organizations include unlimited Social Spaces.
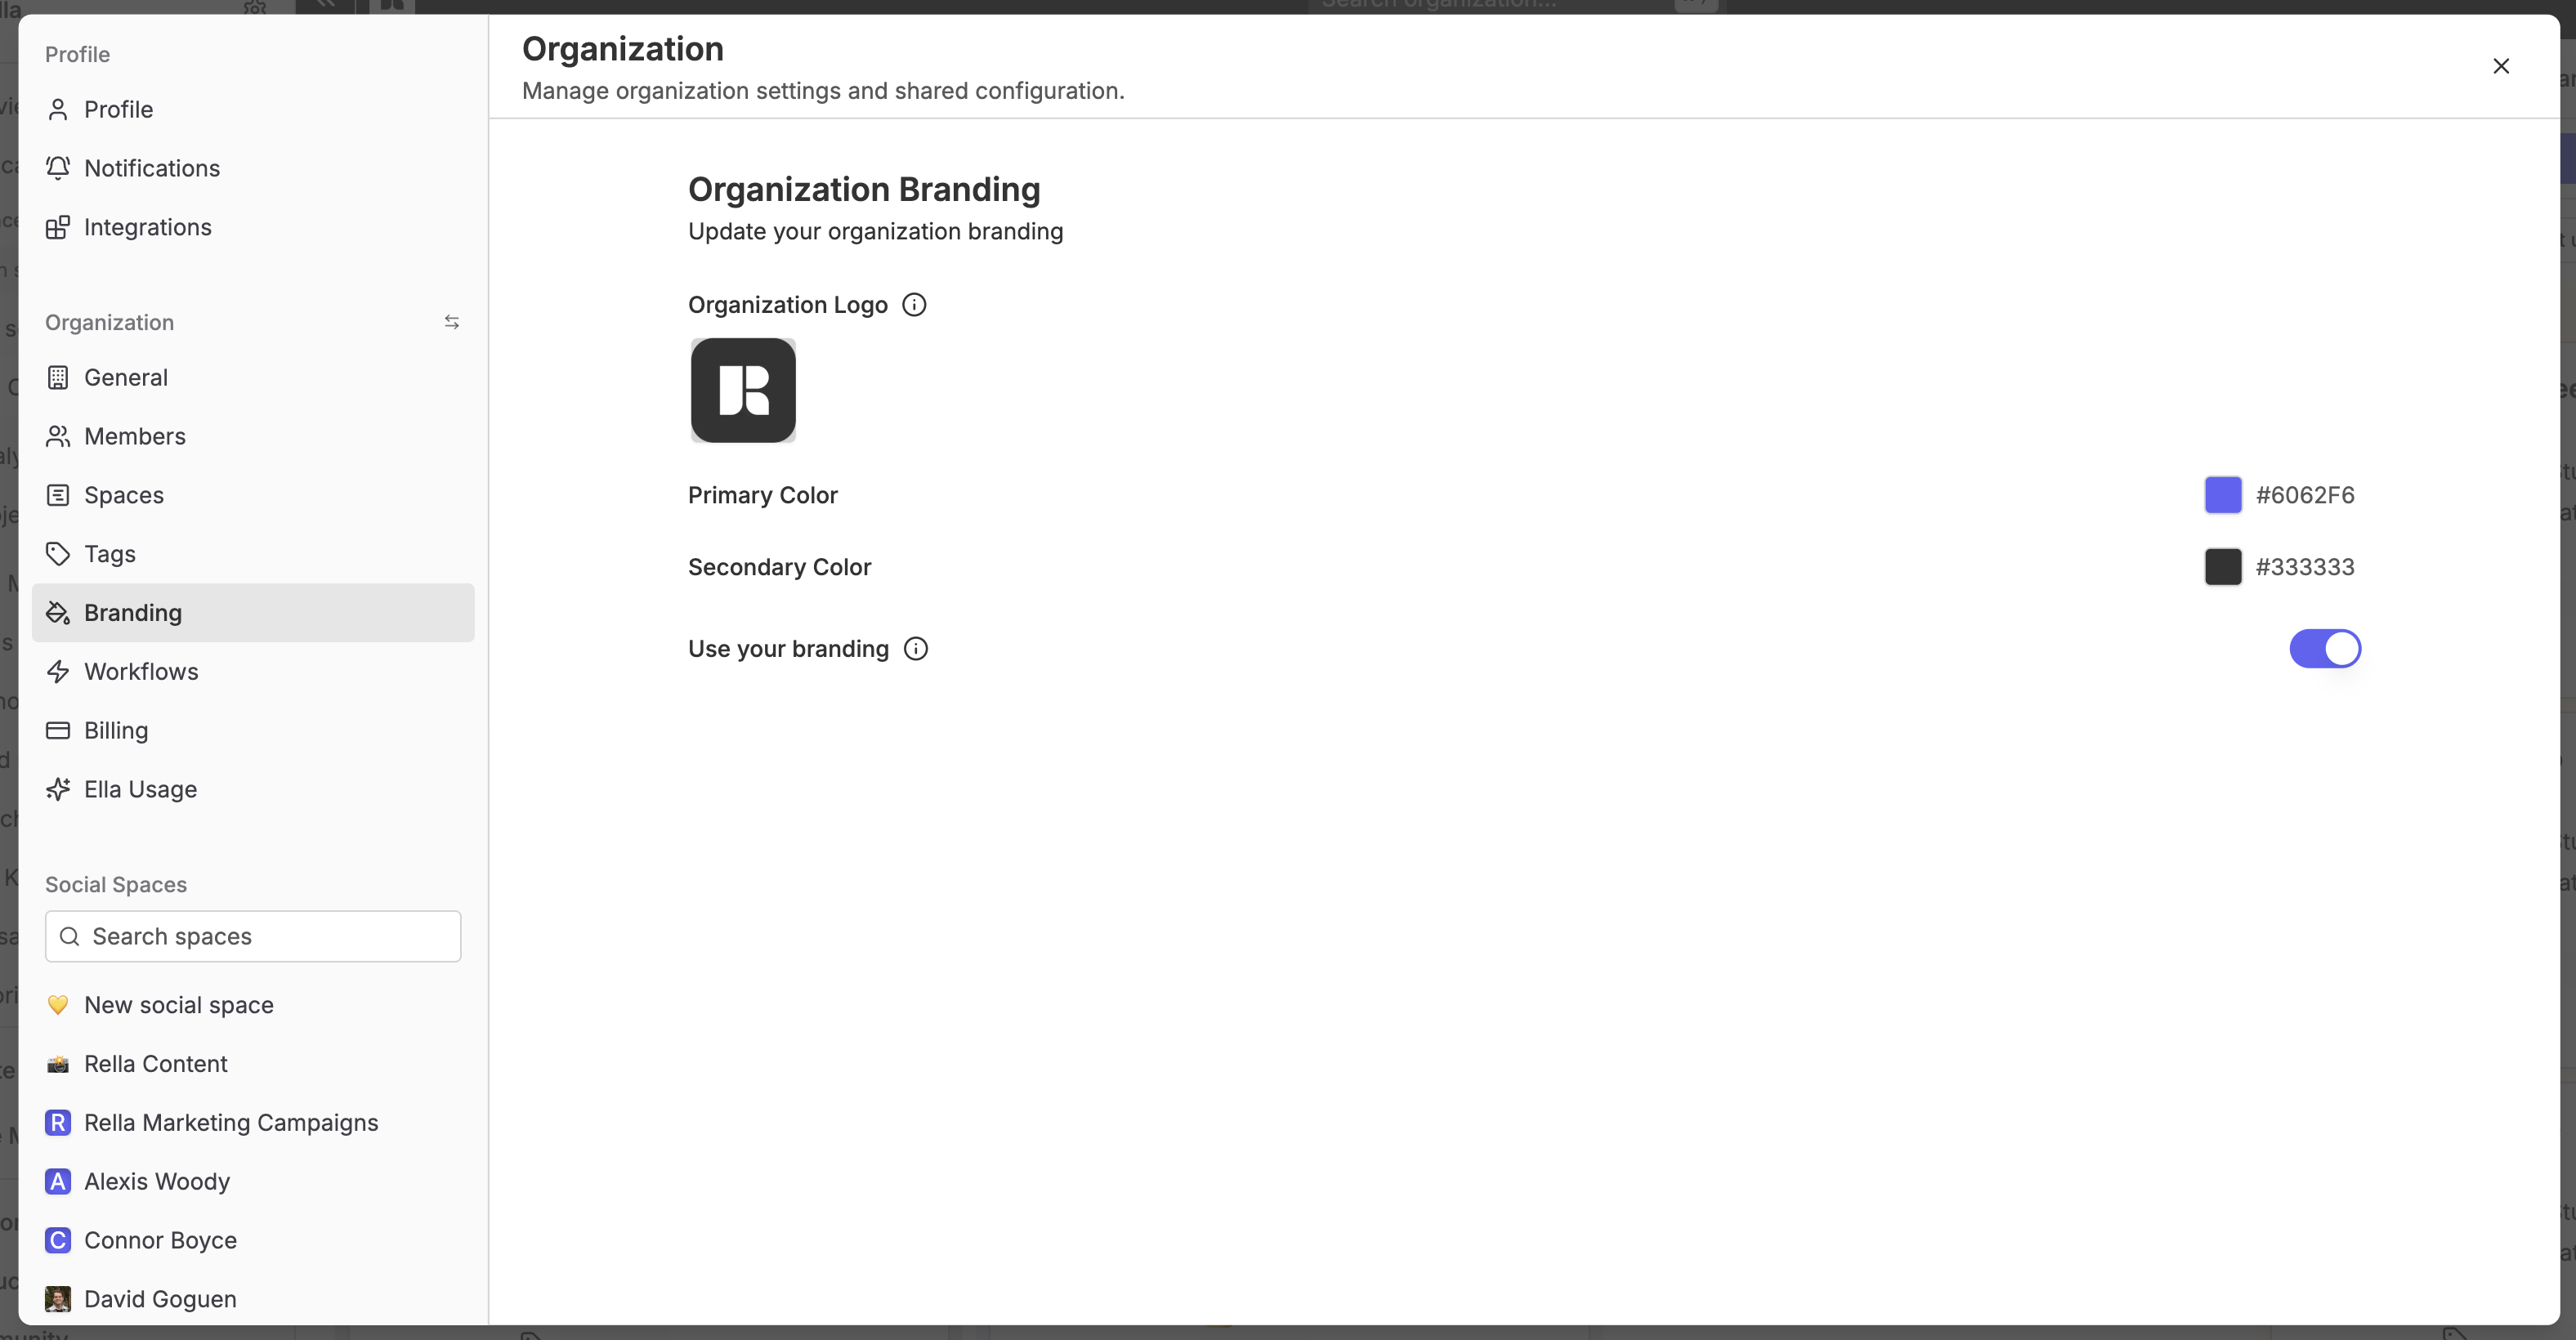
Add branding and custom platforms
Open your Social Space settings.
Upload your brand logo and set your workspace details.
Add any custom planning platforms (such as email newsletters, Substack, or podcasts) alongside standard social networks.
Set custom color codes for your platforms to match your visual workflow.
Note: Custom white labeling across the entire Organization is available on the Premium Plus plan.
2. Connect Social Accounts and Integrations
Link your publishing channels and workflow tools to manage scheduling, asset imports, and event syncing in one place.
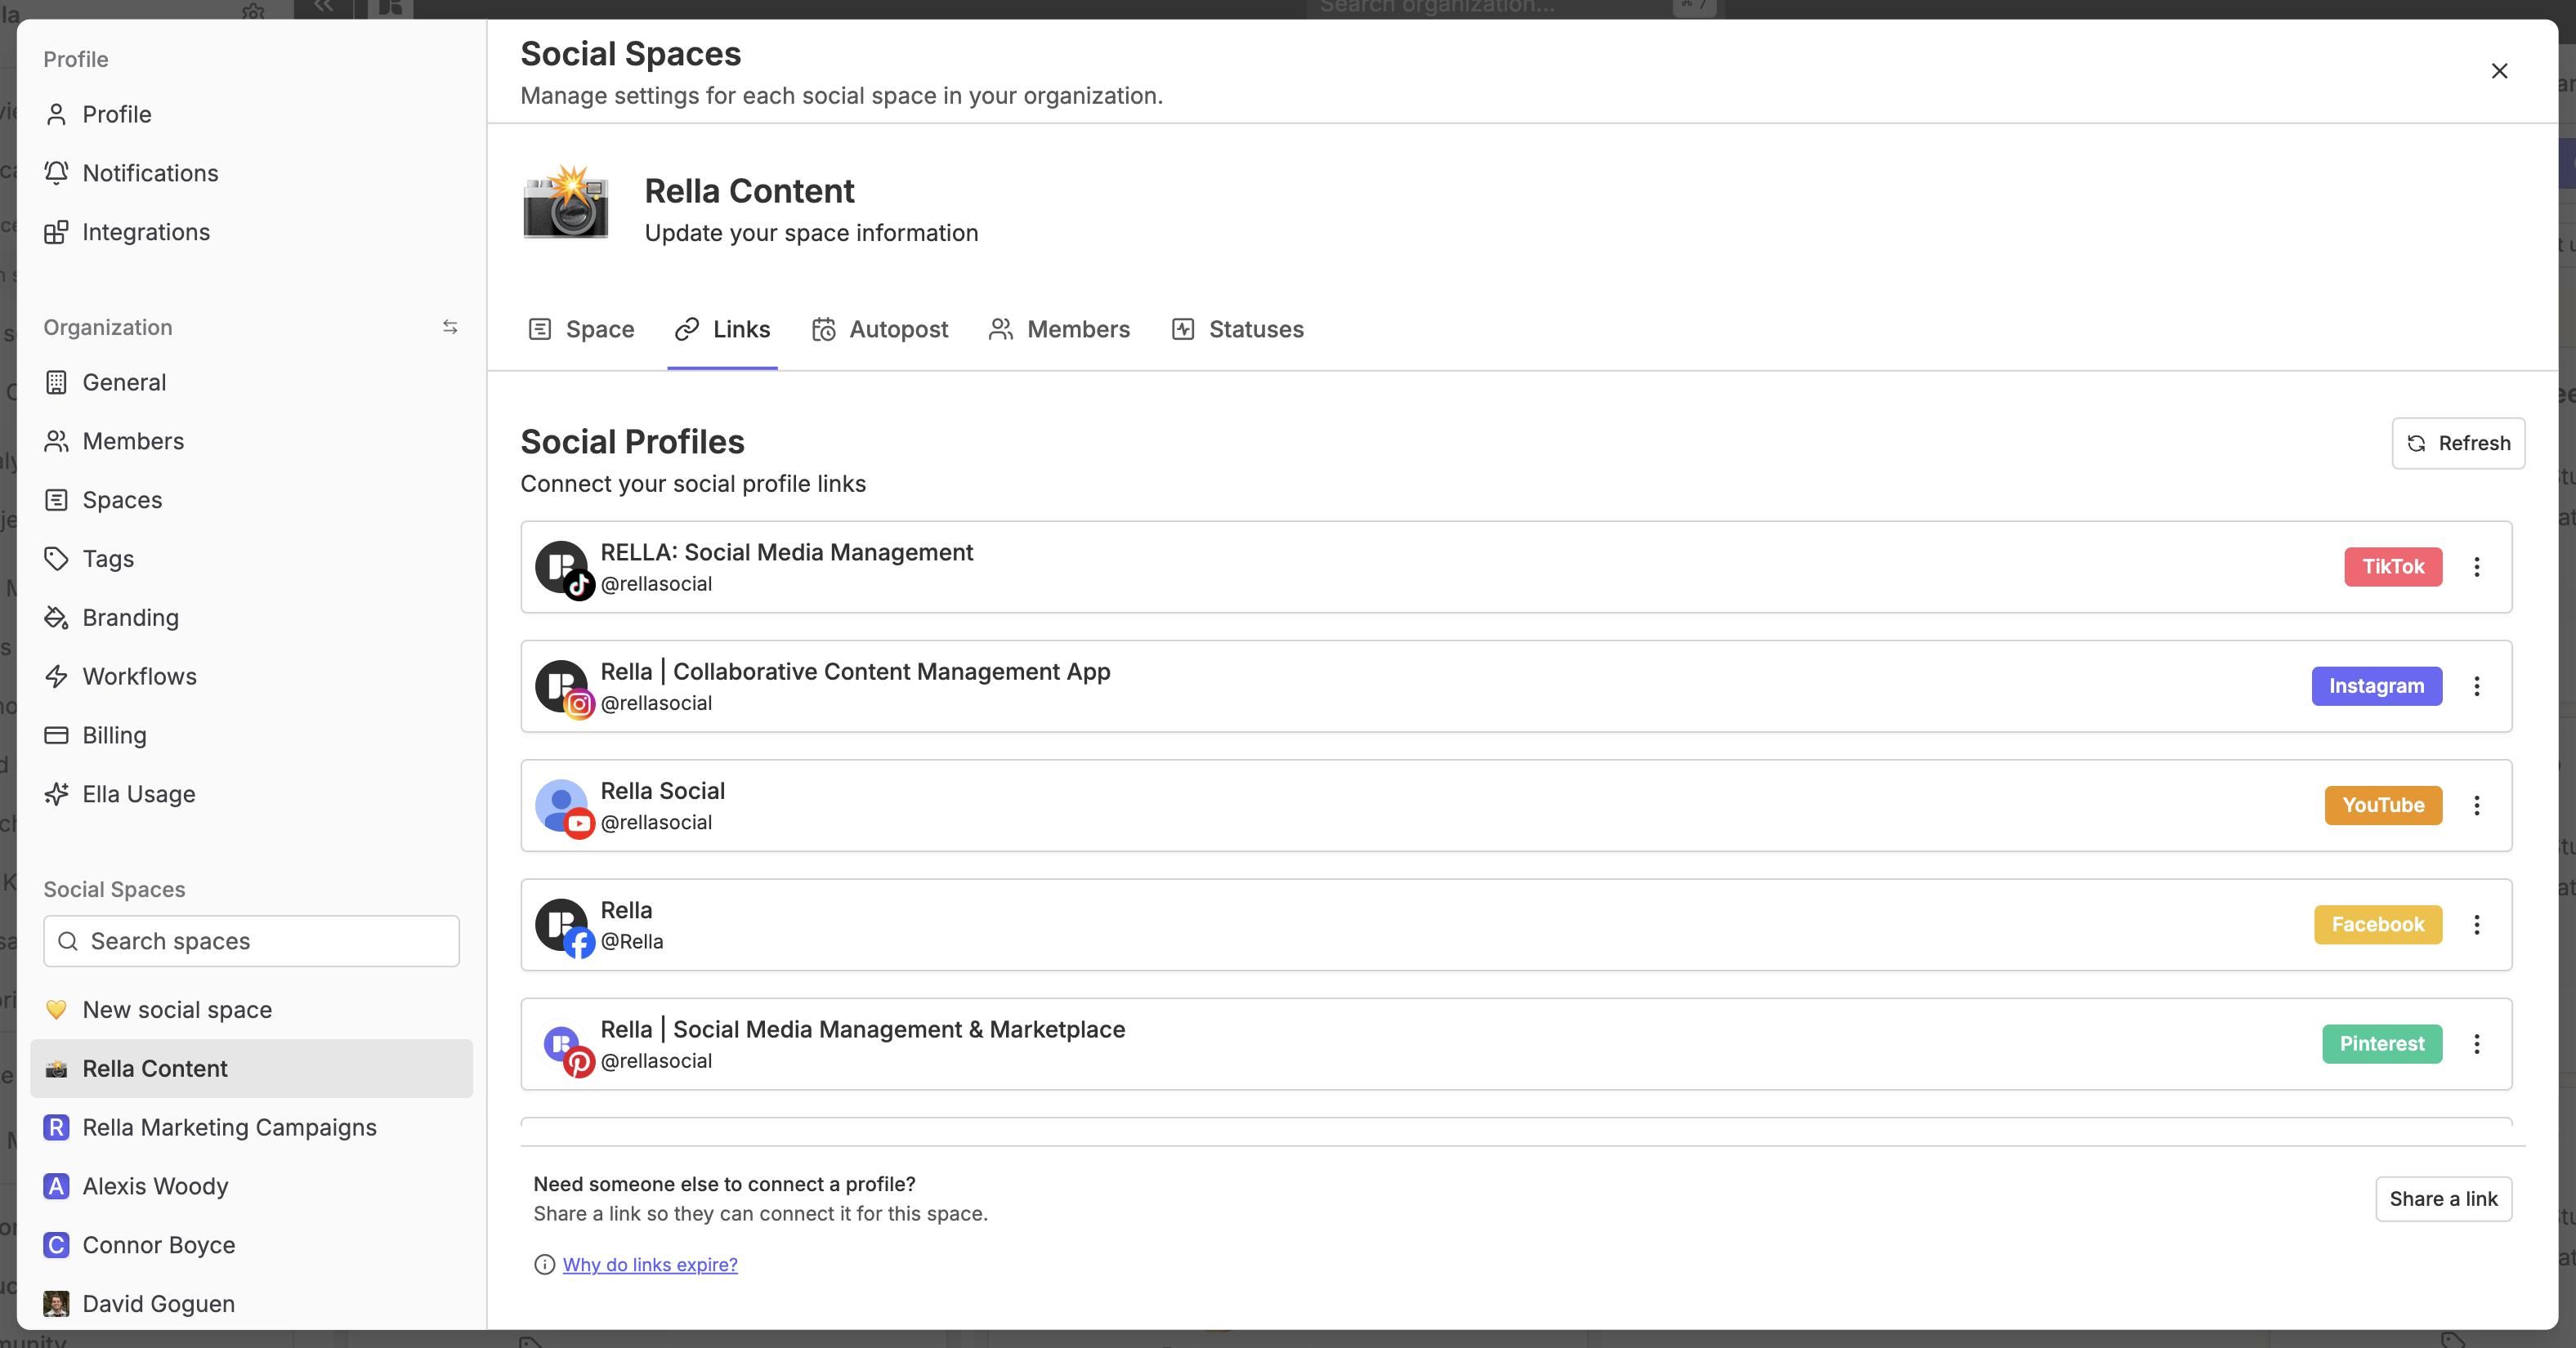
Connect your platforms
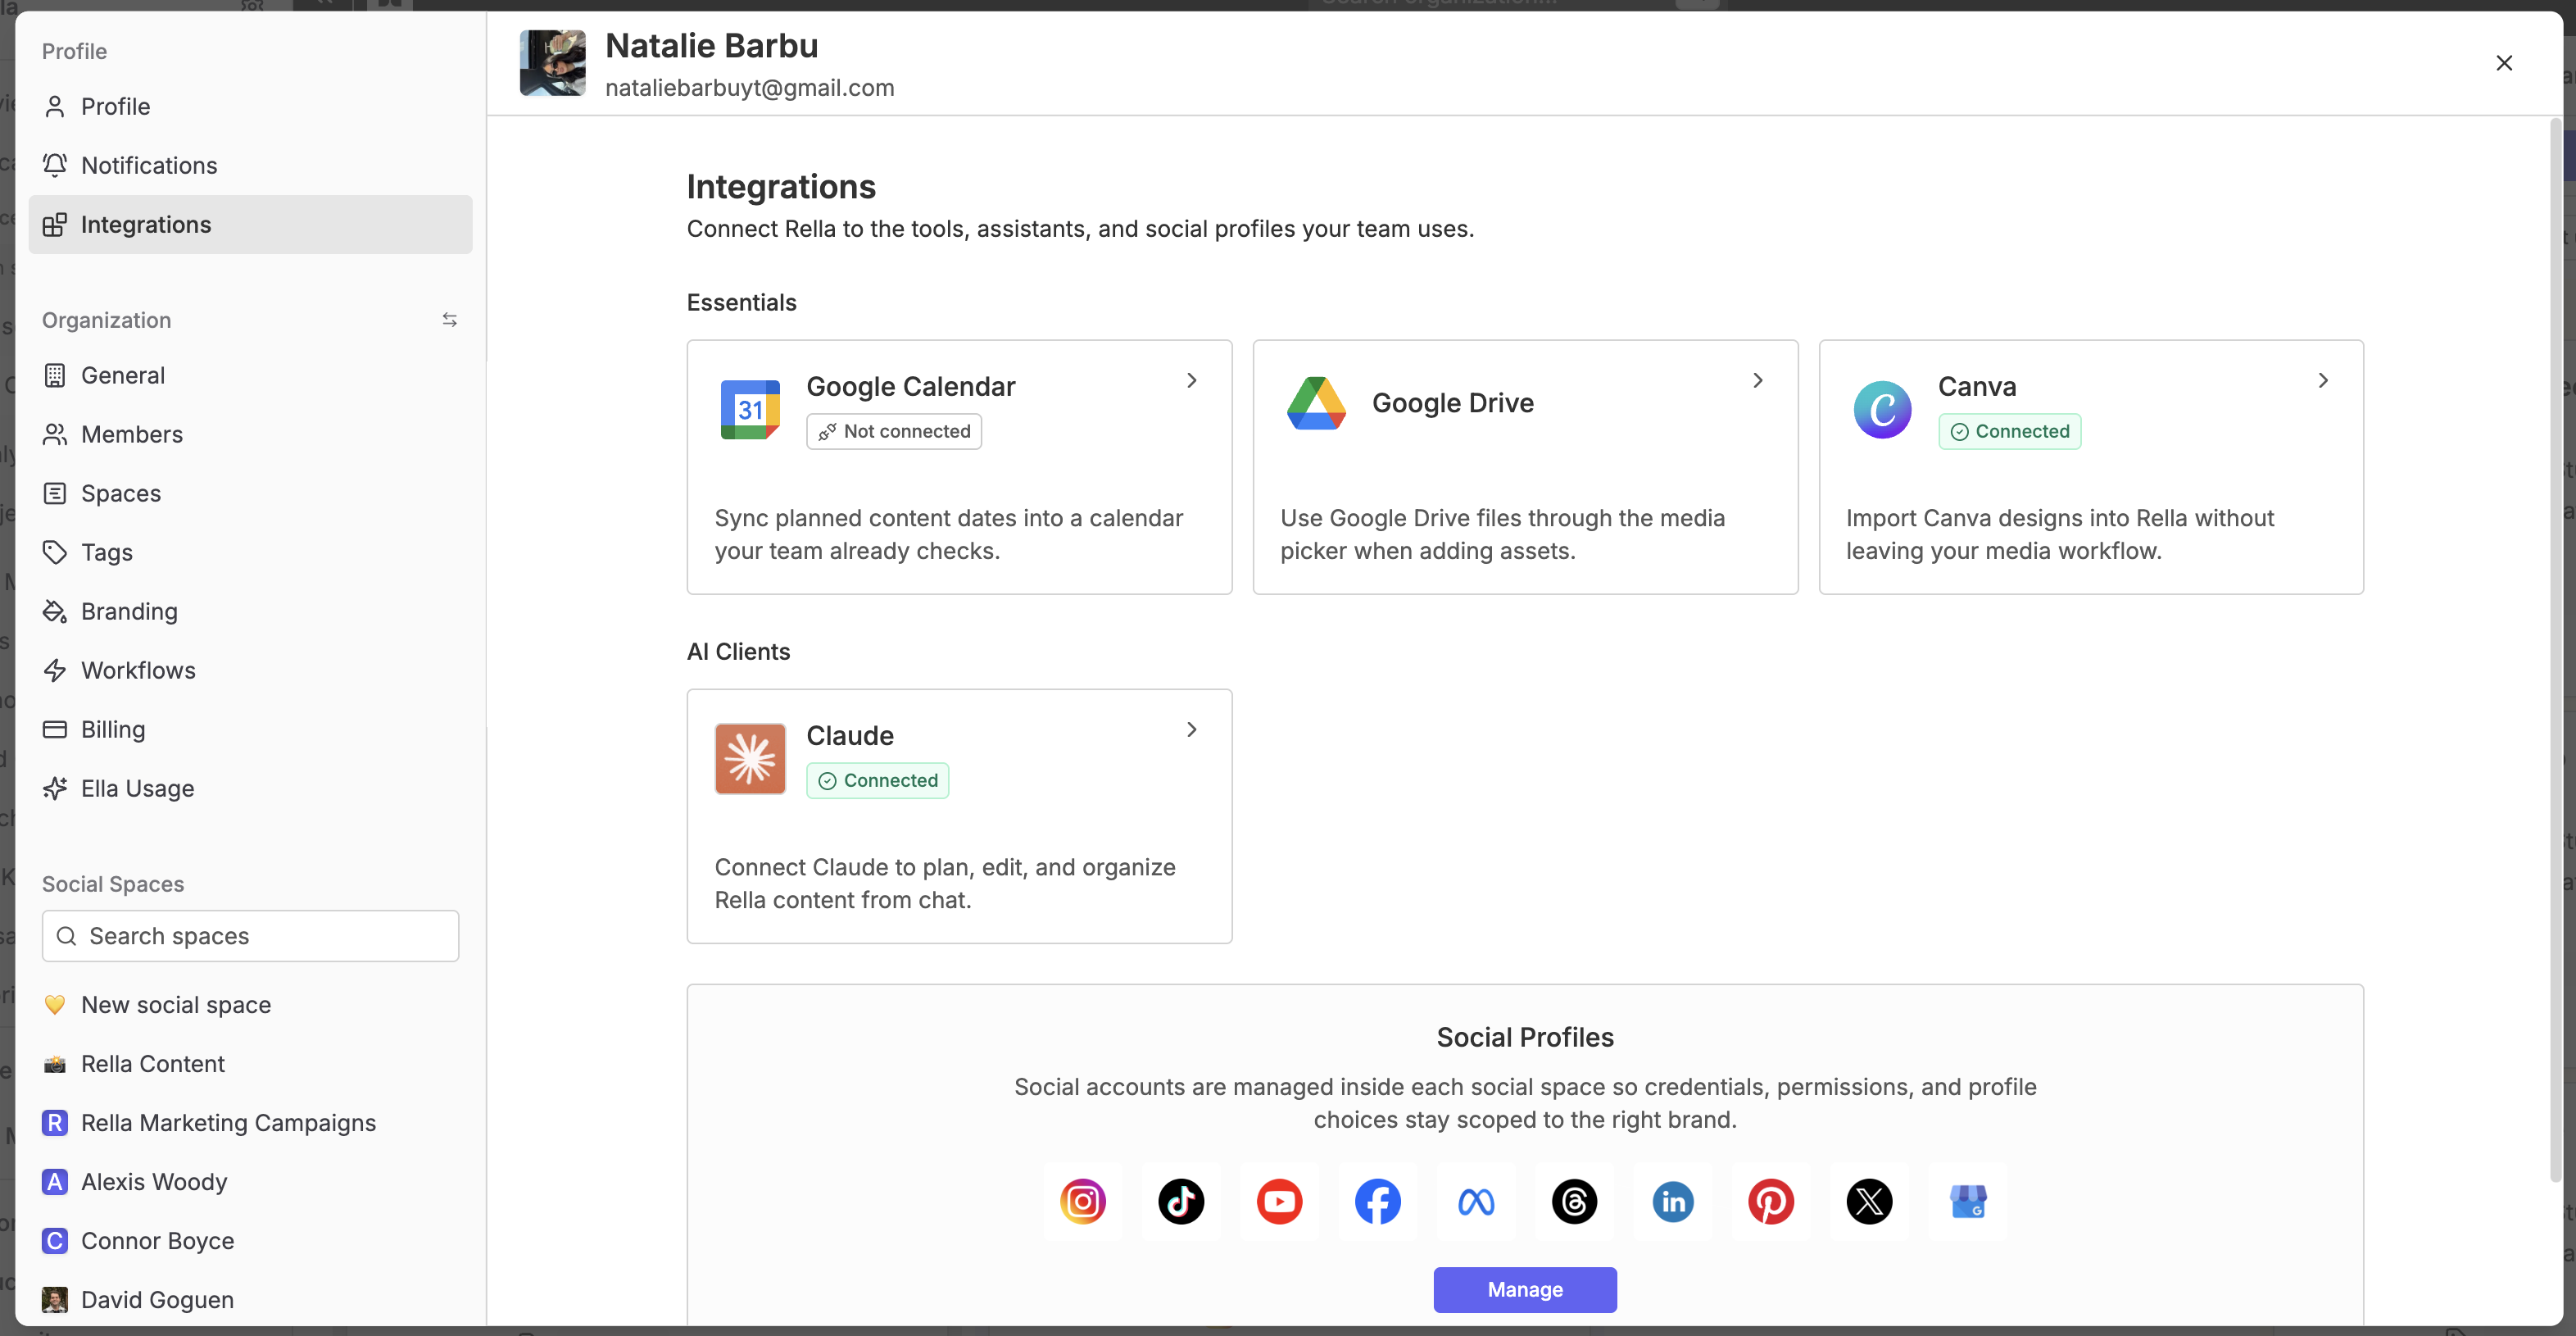
Navigate to Integrations in your settings.
Connect your social channels (such as Instagram, TikTok, Facebook, LinkedIn, YouTube, X, and Pinterest).
Connect your workflow integrations:
Google Drive for direct Media imports.
Google Calendar for scheduling and Task syncing.
Canva for design imports.
Claude for external AI syncing.
3. Train Ella and Set Up Your Persona
Ella is Rella's AI-powered teammate. She uses your brand Persona to draft Content, generate ideas, and analyze performance in your exact tone of voice.
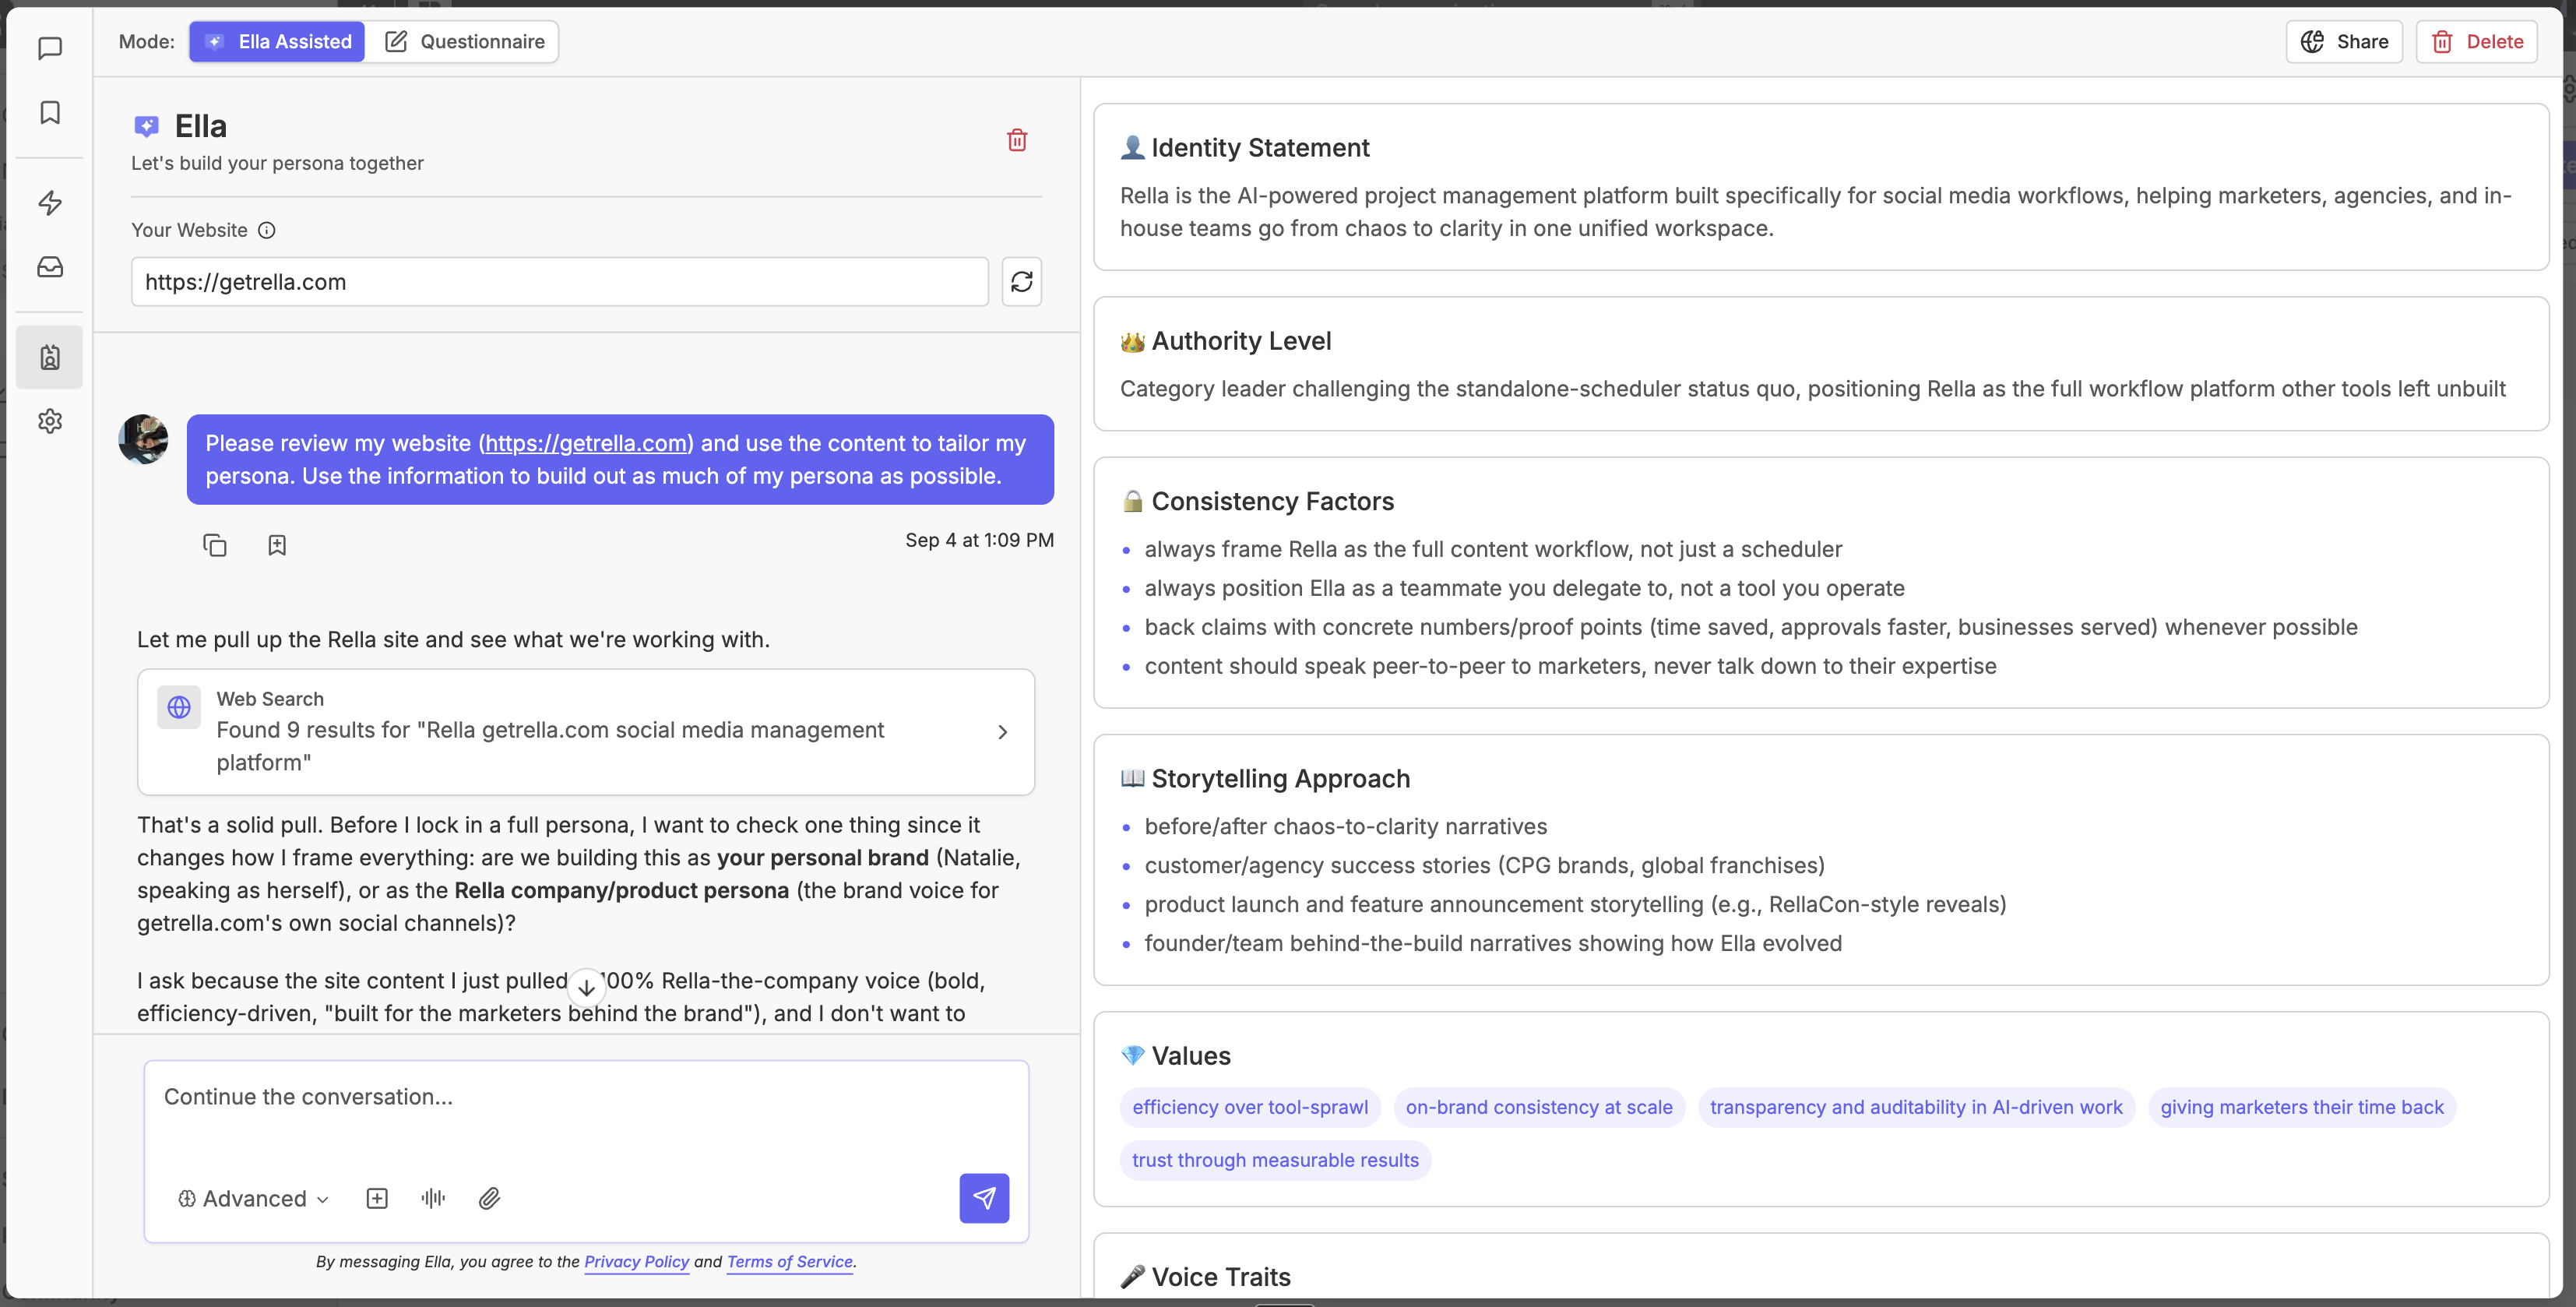
Build your Persona
Open Ella from the main navigation.
Enter your brand website URL to let Ella automatically extract your brand identity and voice.
Chat with Ella or answer guided prompts to refine your guidelines:
Core mission and goals
Do's and don'ts
Platform-specific tone shifts
Paste custom prompts or outputs from tools like ChatGPT or Claude directly into Ella to update her memory.
Brainstorm and generate Content
Ask Ella to generate Content ideas, write captions, or plan a full week of posts.
Accept suggestions to add them directly to your Calendar.
4. Automate Strategy with Ella Workflows
Ella Workflows run automated recurring jobs to deliver ideas, trends, and reports on a daily, weekly, or monthly schedule.
Set up a Workflow
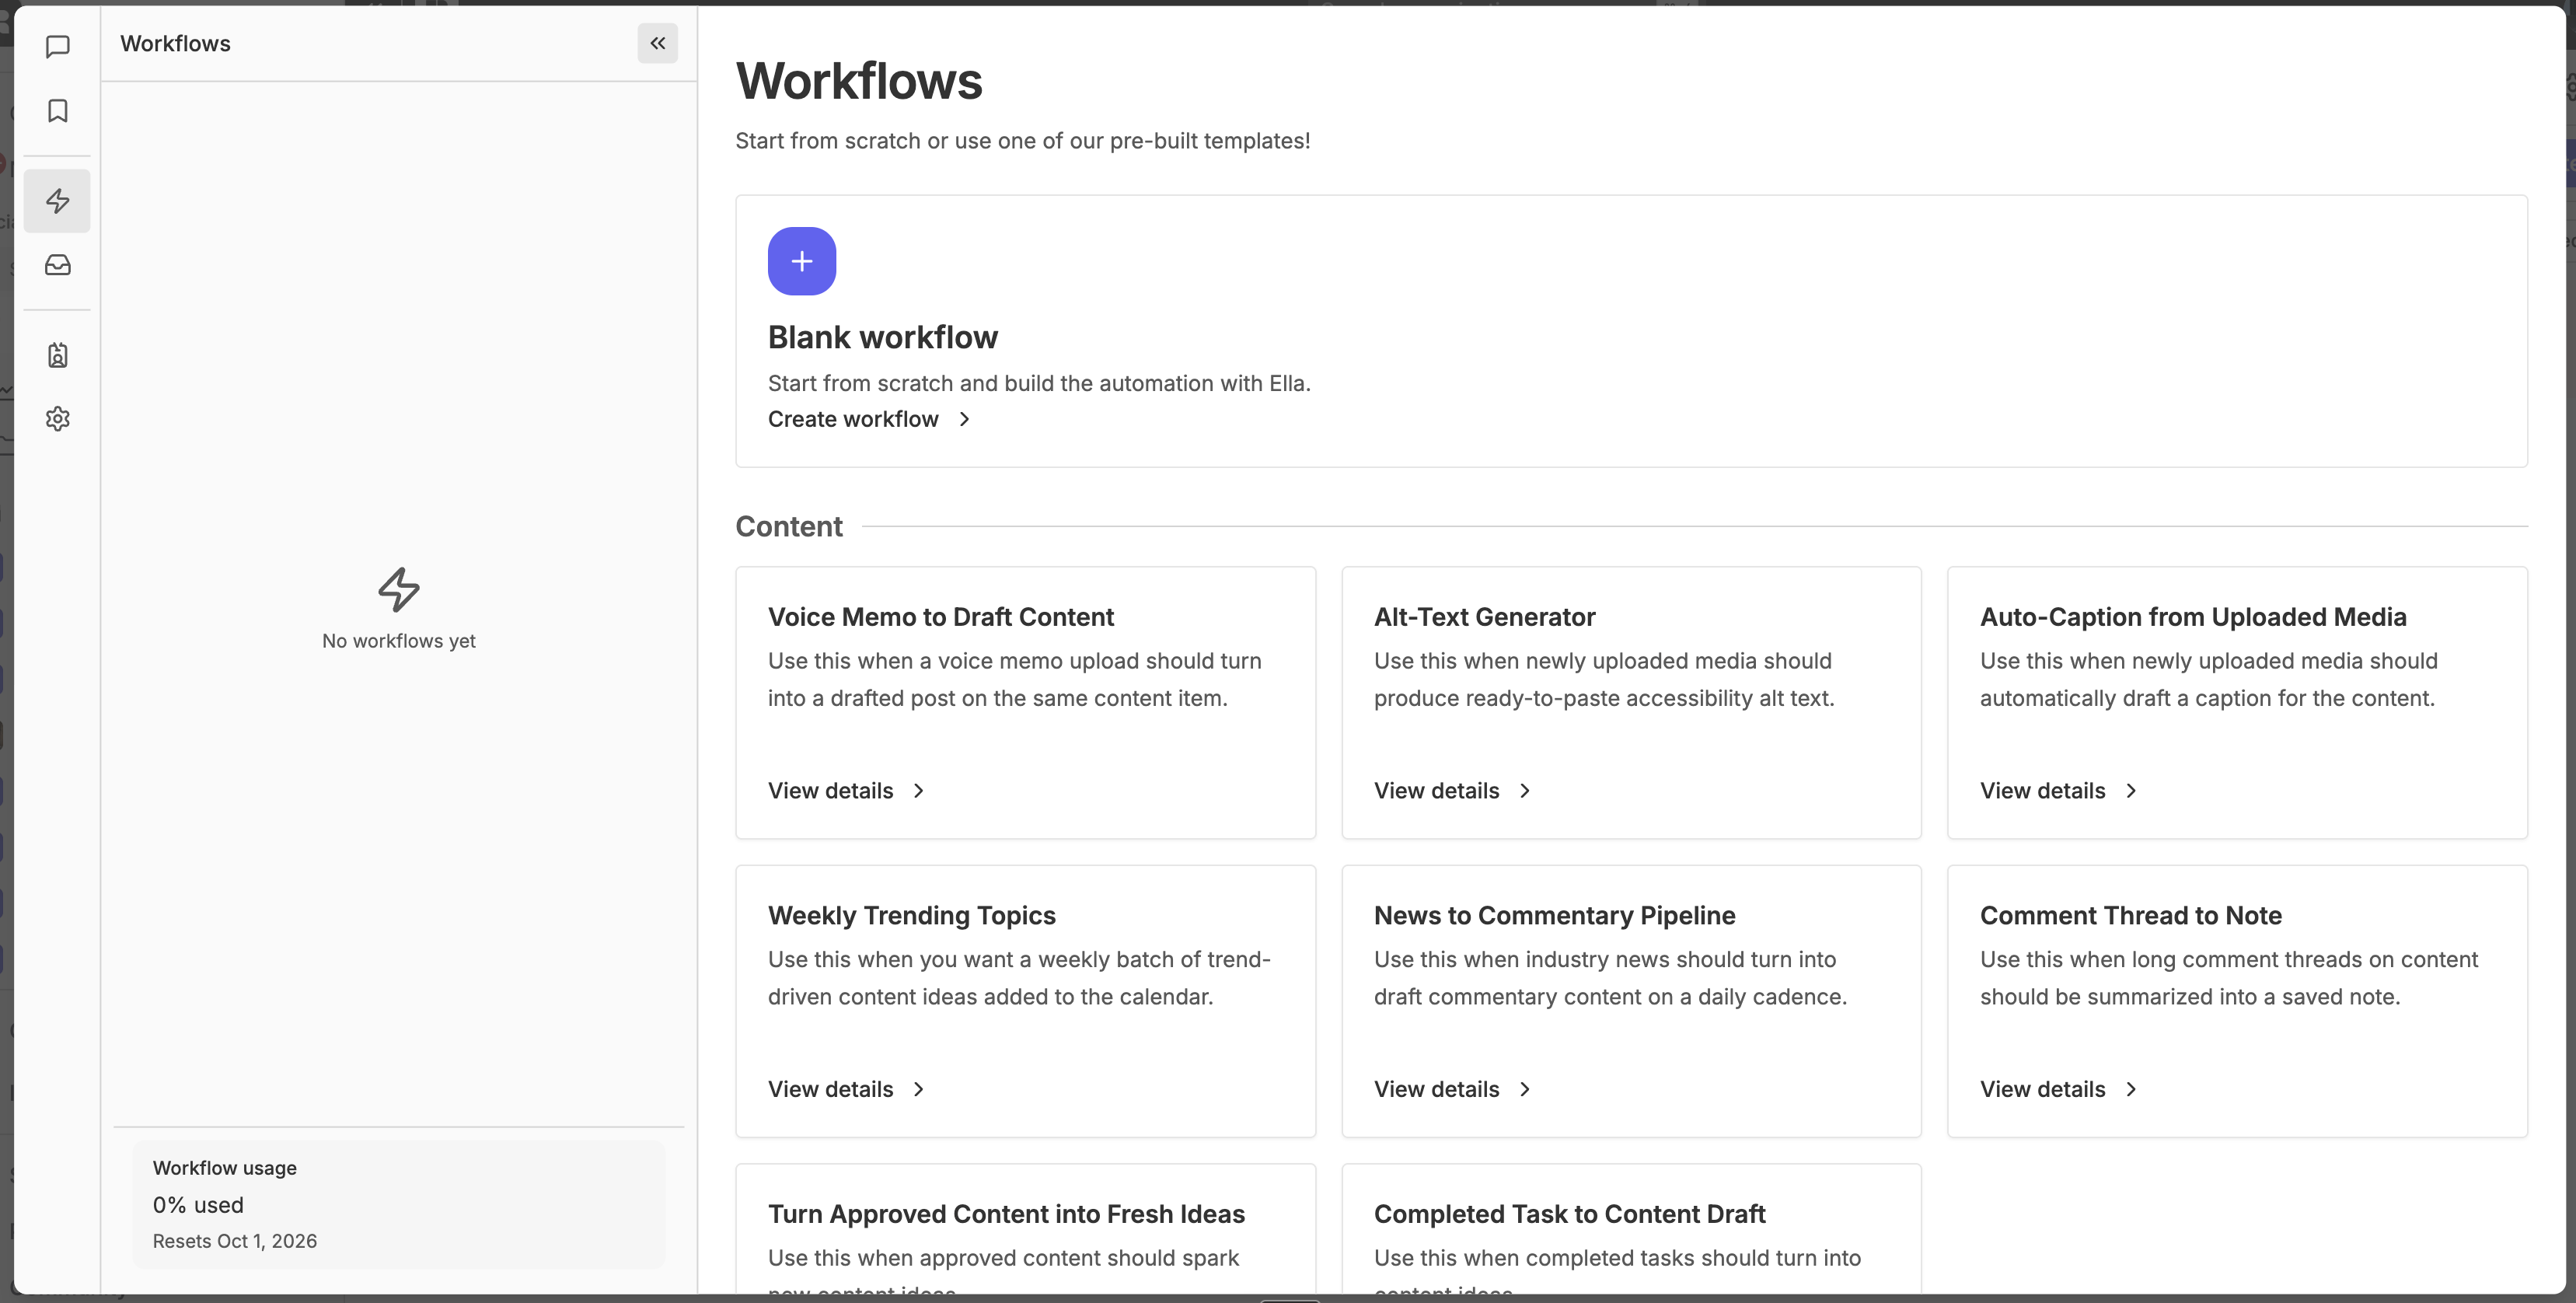
Navigate to Ella Workflows.
Choose a pre-built template from the template library or click Create Workflow to start from scratch.
Set your trigger cadence (daily, weekly, or monthly).
Review suggestions sent by Ella via email or in Rella, then approve or reject them to update your Calendar.
Popular Workflow examples:
Weekly Trending Sounds: Delivers top trending TikTok and Instagram audio tailored to your niche.
Monthly Strategy & Analytics: Summarizes monthly metrics with actionable recommendations for the next month.
5. Plan Content, Tasks, and Internal Collaboration
Keep production on track by assigning team members to Content and tracking individual production steps.
Add team members and assign work
Navigate to your workspace settings and invite team members who need full editing and creation access.
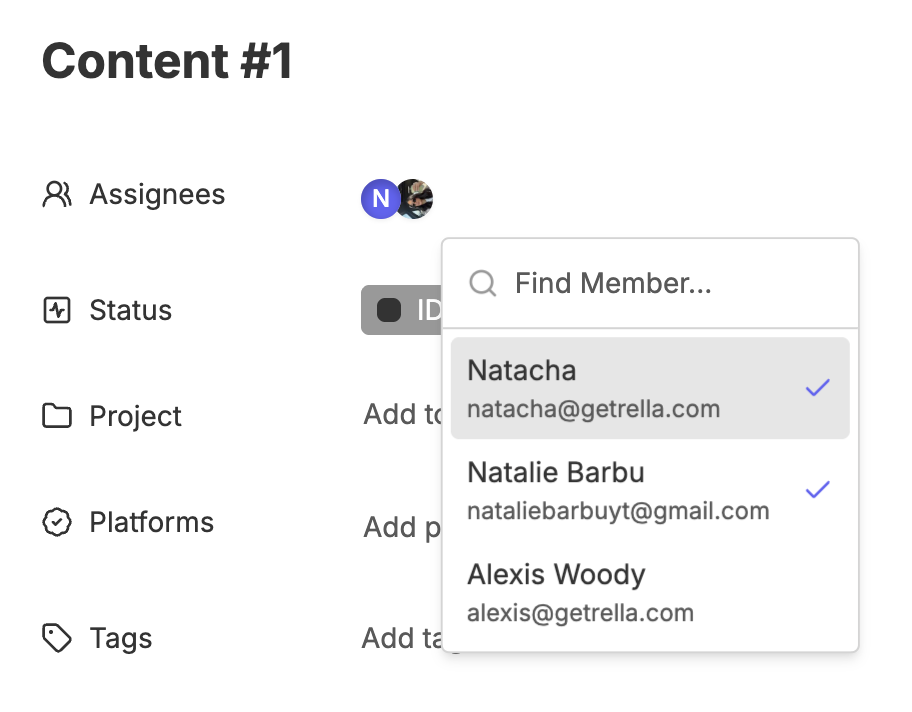
Open any post on your Calendar or Board.
Assign team members to the Content.
Add Tasks with due dates for specific deliverables (such as video editing, script writing, or thumbnail design).
6. Share Content for External Approval
You can share Content with clients, managers, or stakeholders for review without requiring them to create an account, log in, or install an app.
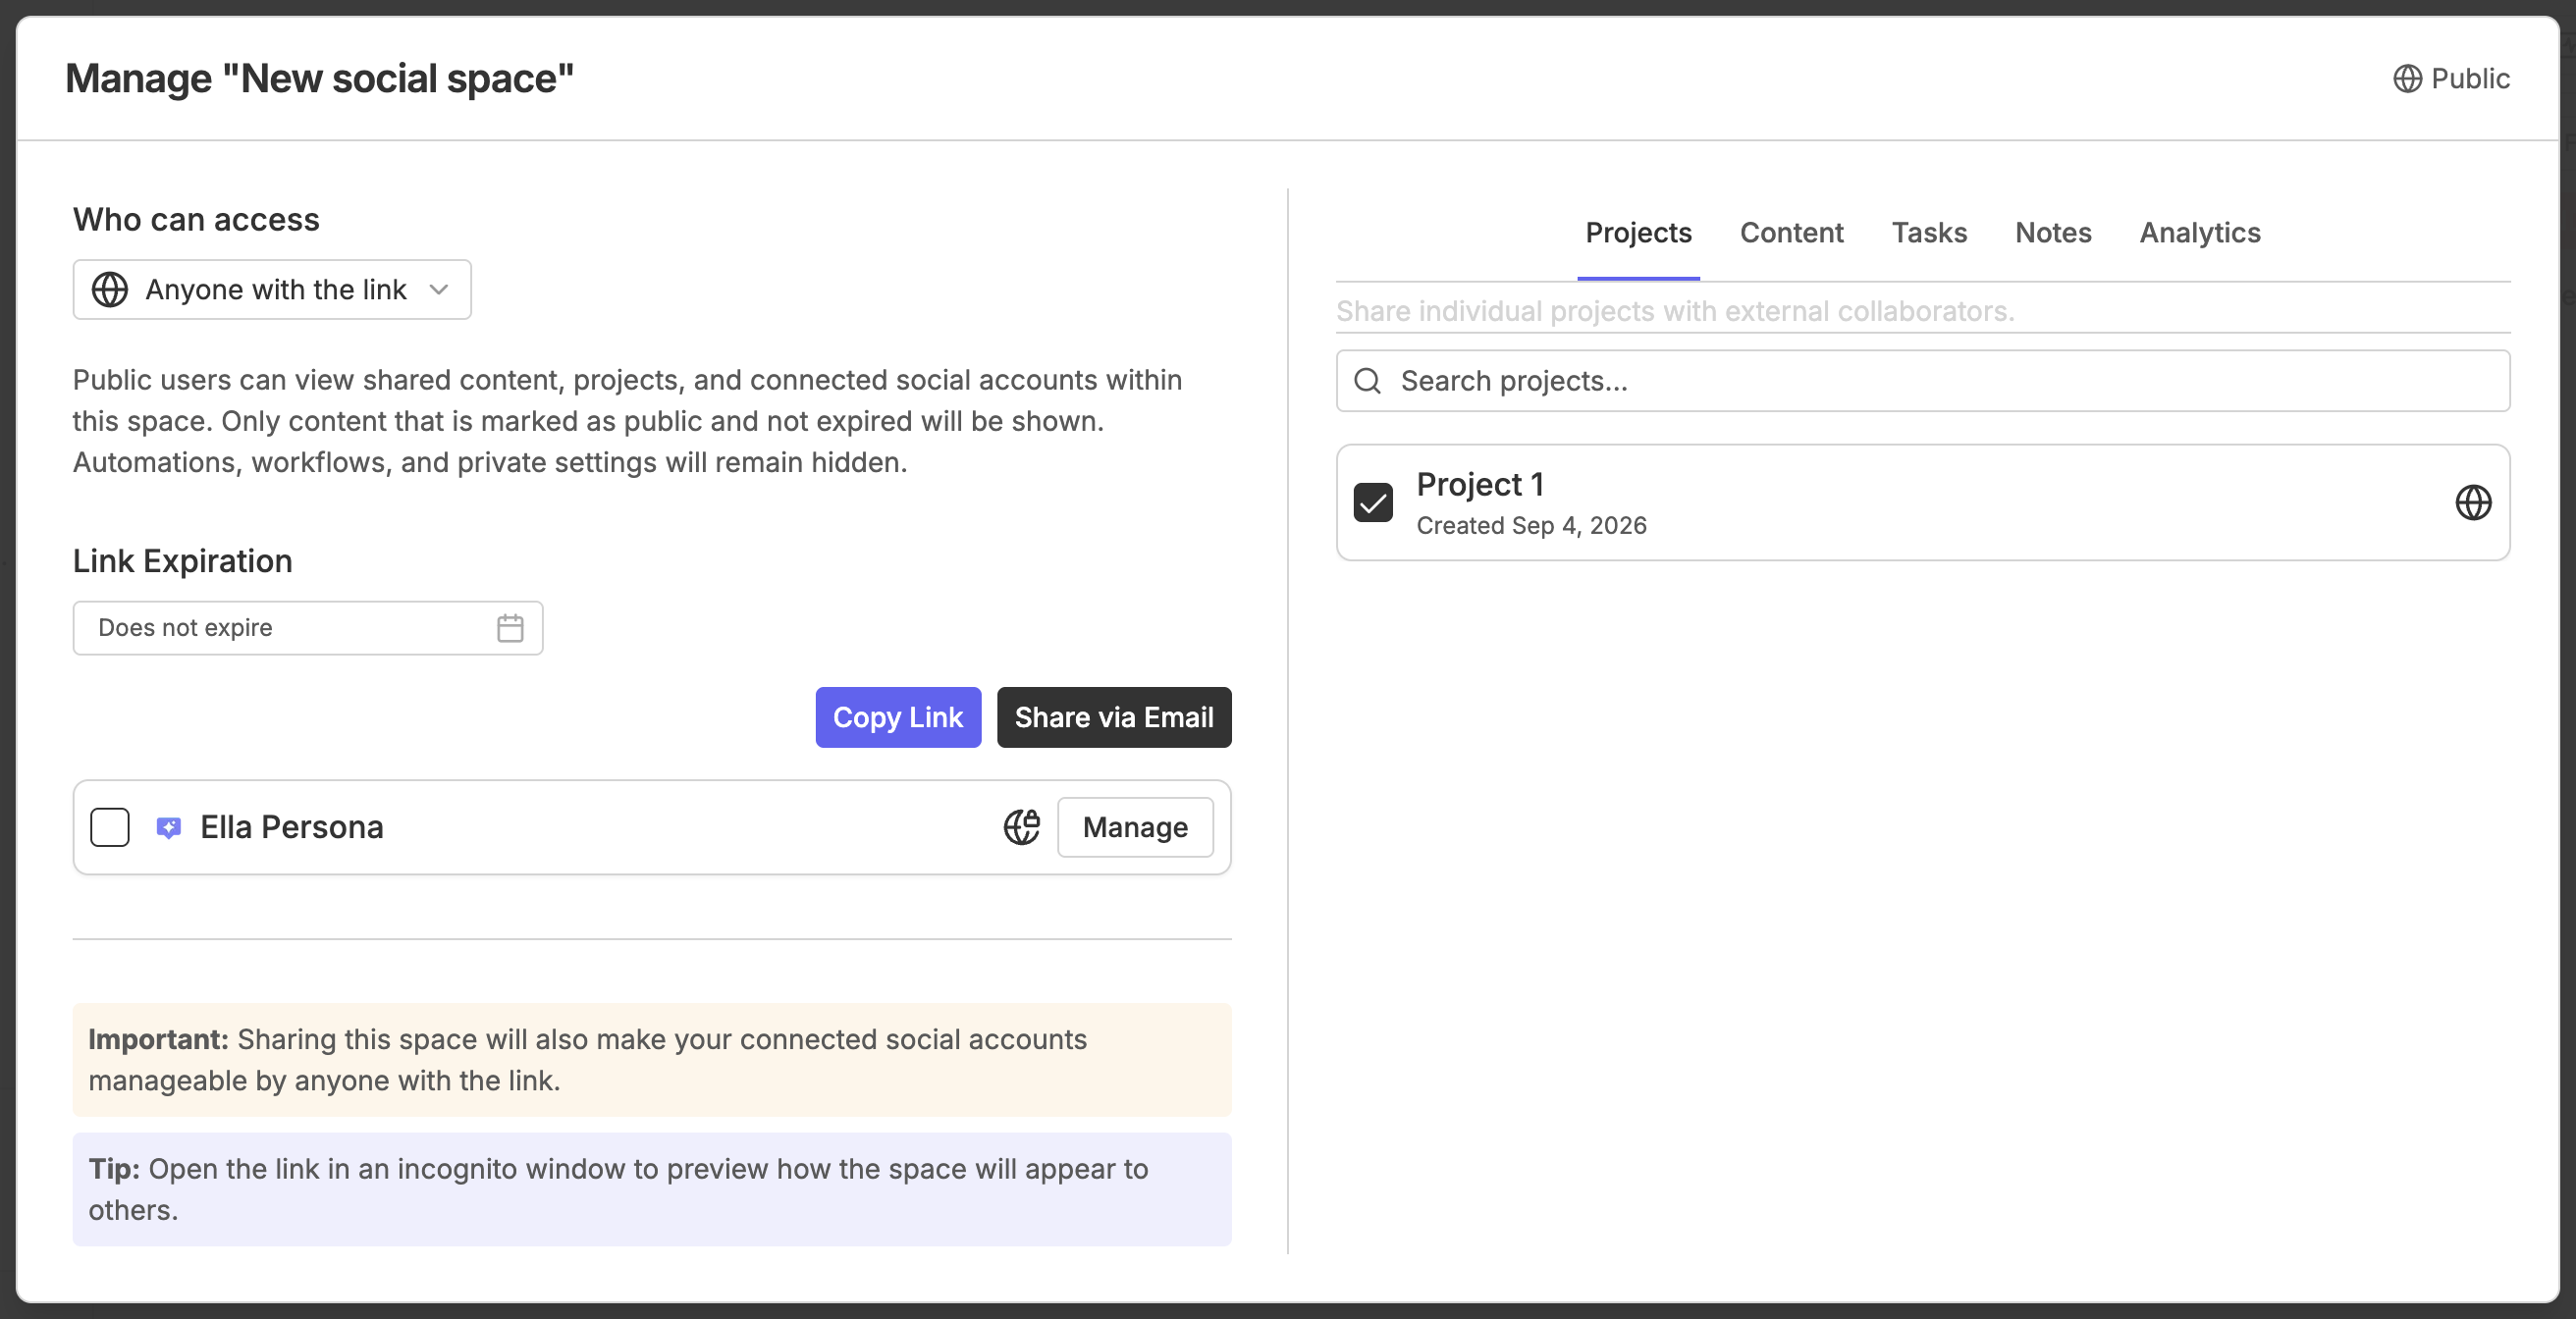
Share a public review link
Open the Social Space, Project, or individual Content item you want to share.
Click Share to generate a public link.
Send the link to your reviewer.
Reviewers can view assets, leave feedback, and approve or request changes directly in their browser.
Note: Your internal conversations and private Activity Log remain hidden from public links.
7. Manage Instagram DMs and Comments with Social Inboxing
Manage community conversations across connected accounts directly inside Rella.
Use Social Inboxing
Navigate to Social Inboxing.
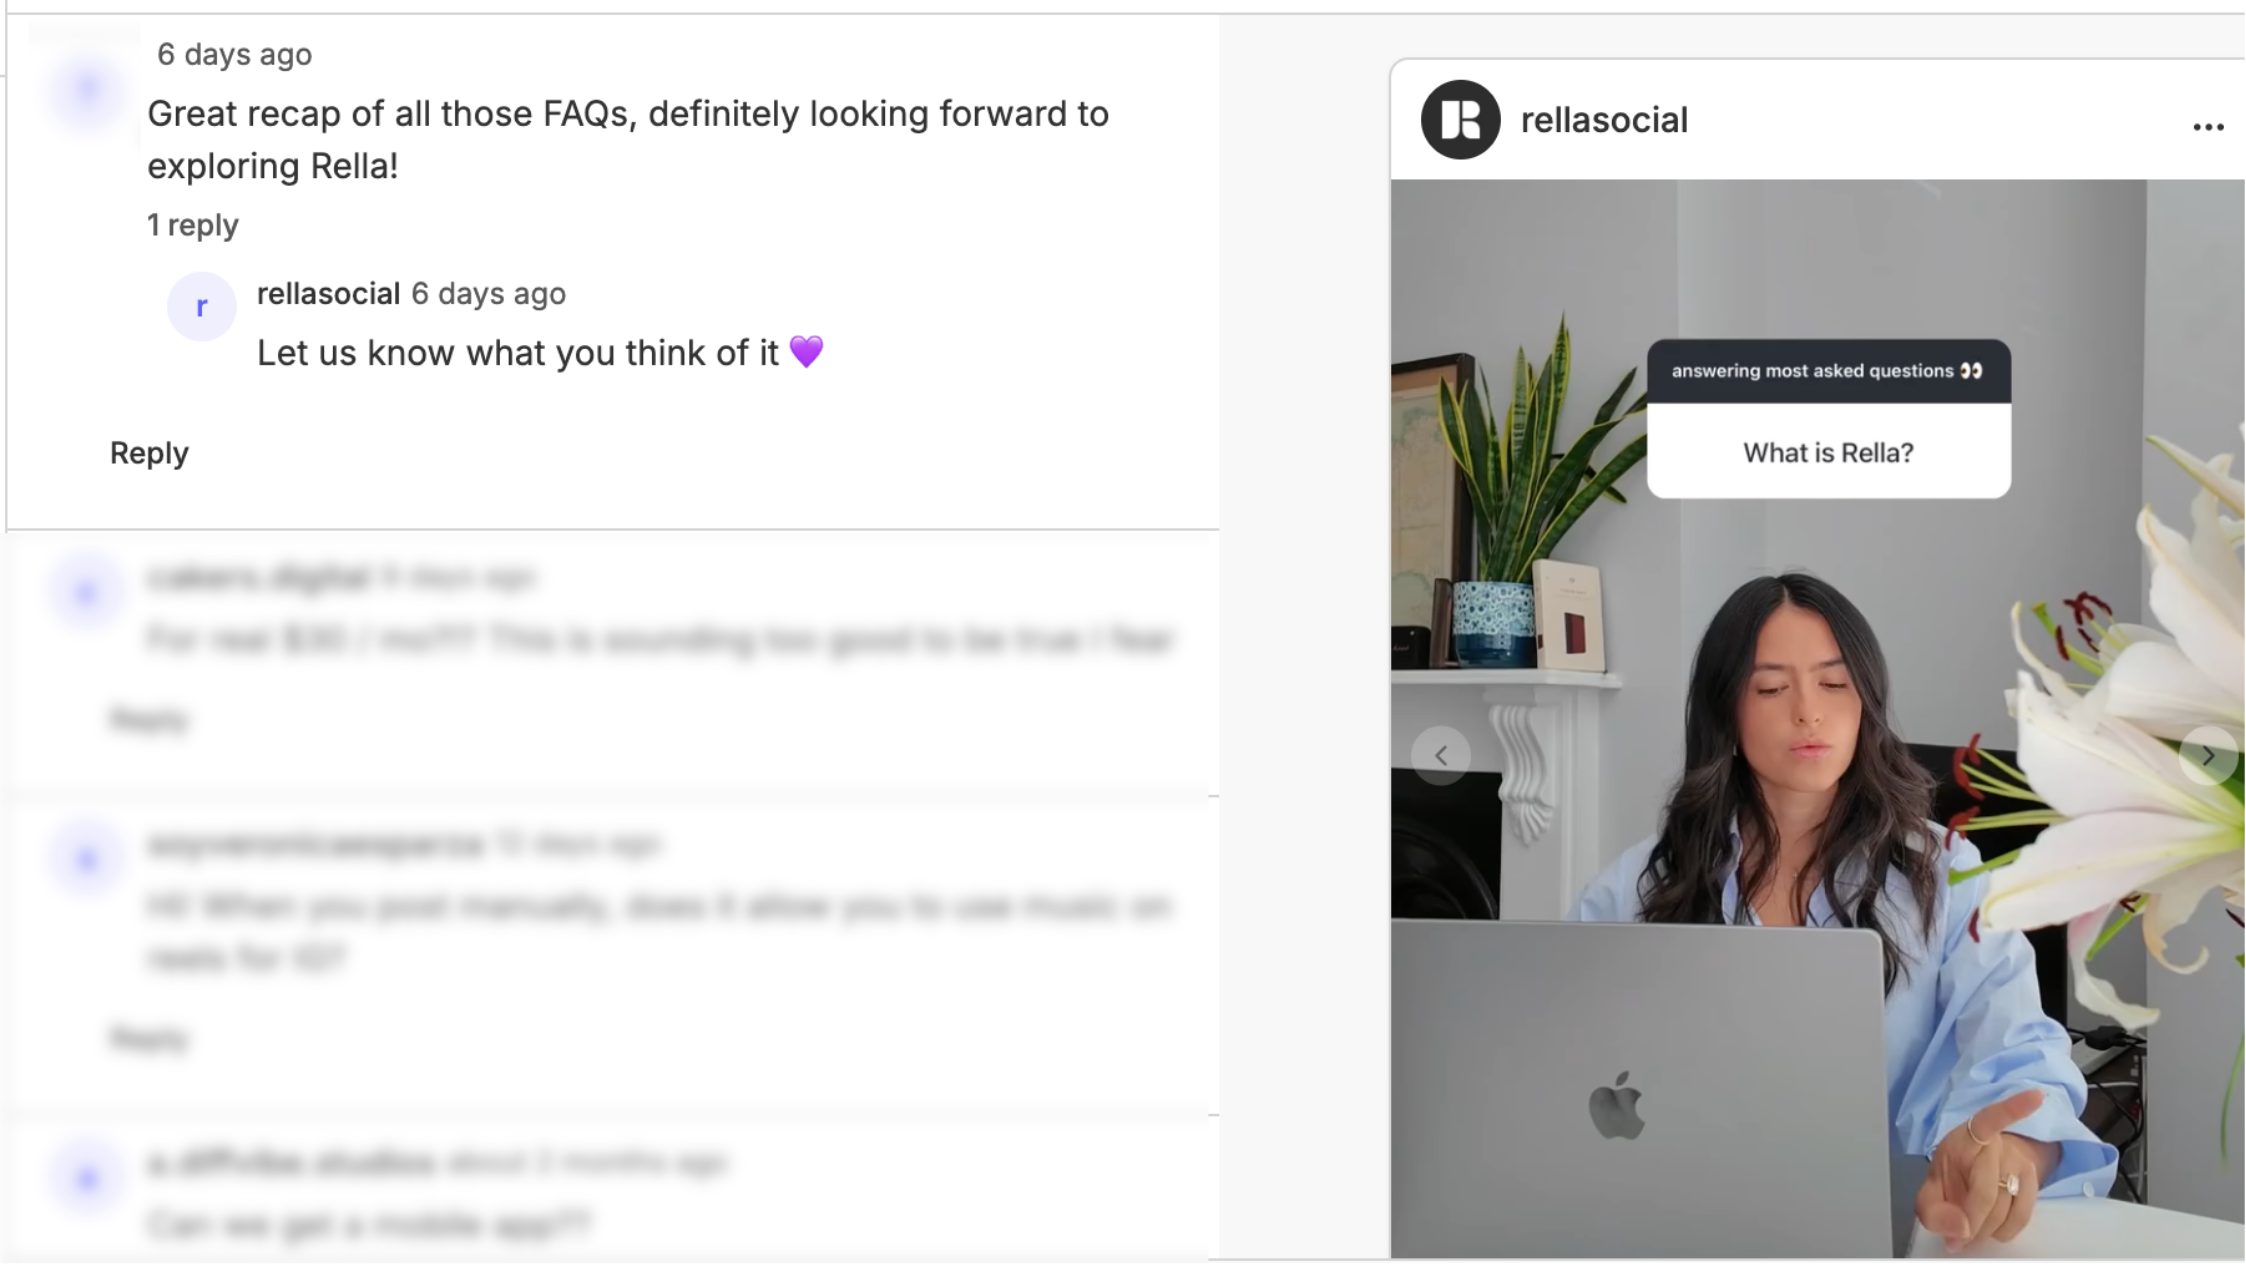
View incoming Instagram comments and direct messages in a unified inbox.
Reply directly to conversations without sharing native account logins with your team.
8. Track Performance with Analytics Reports
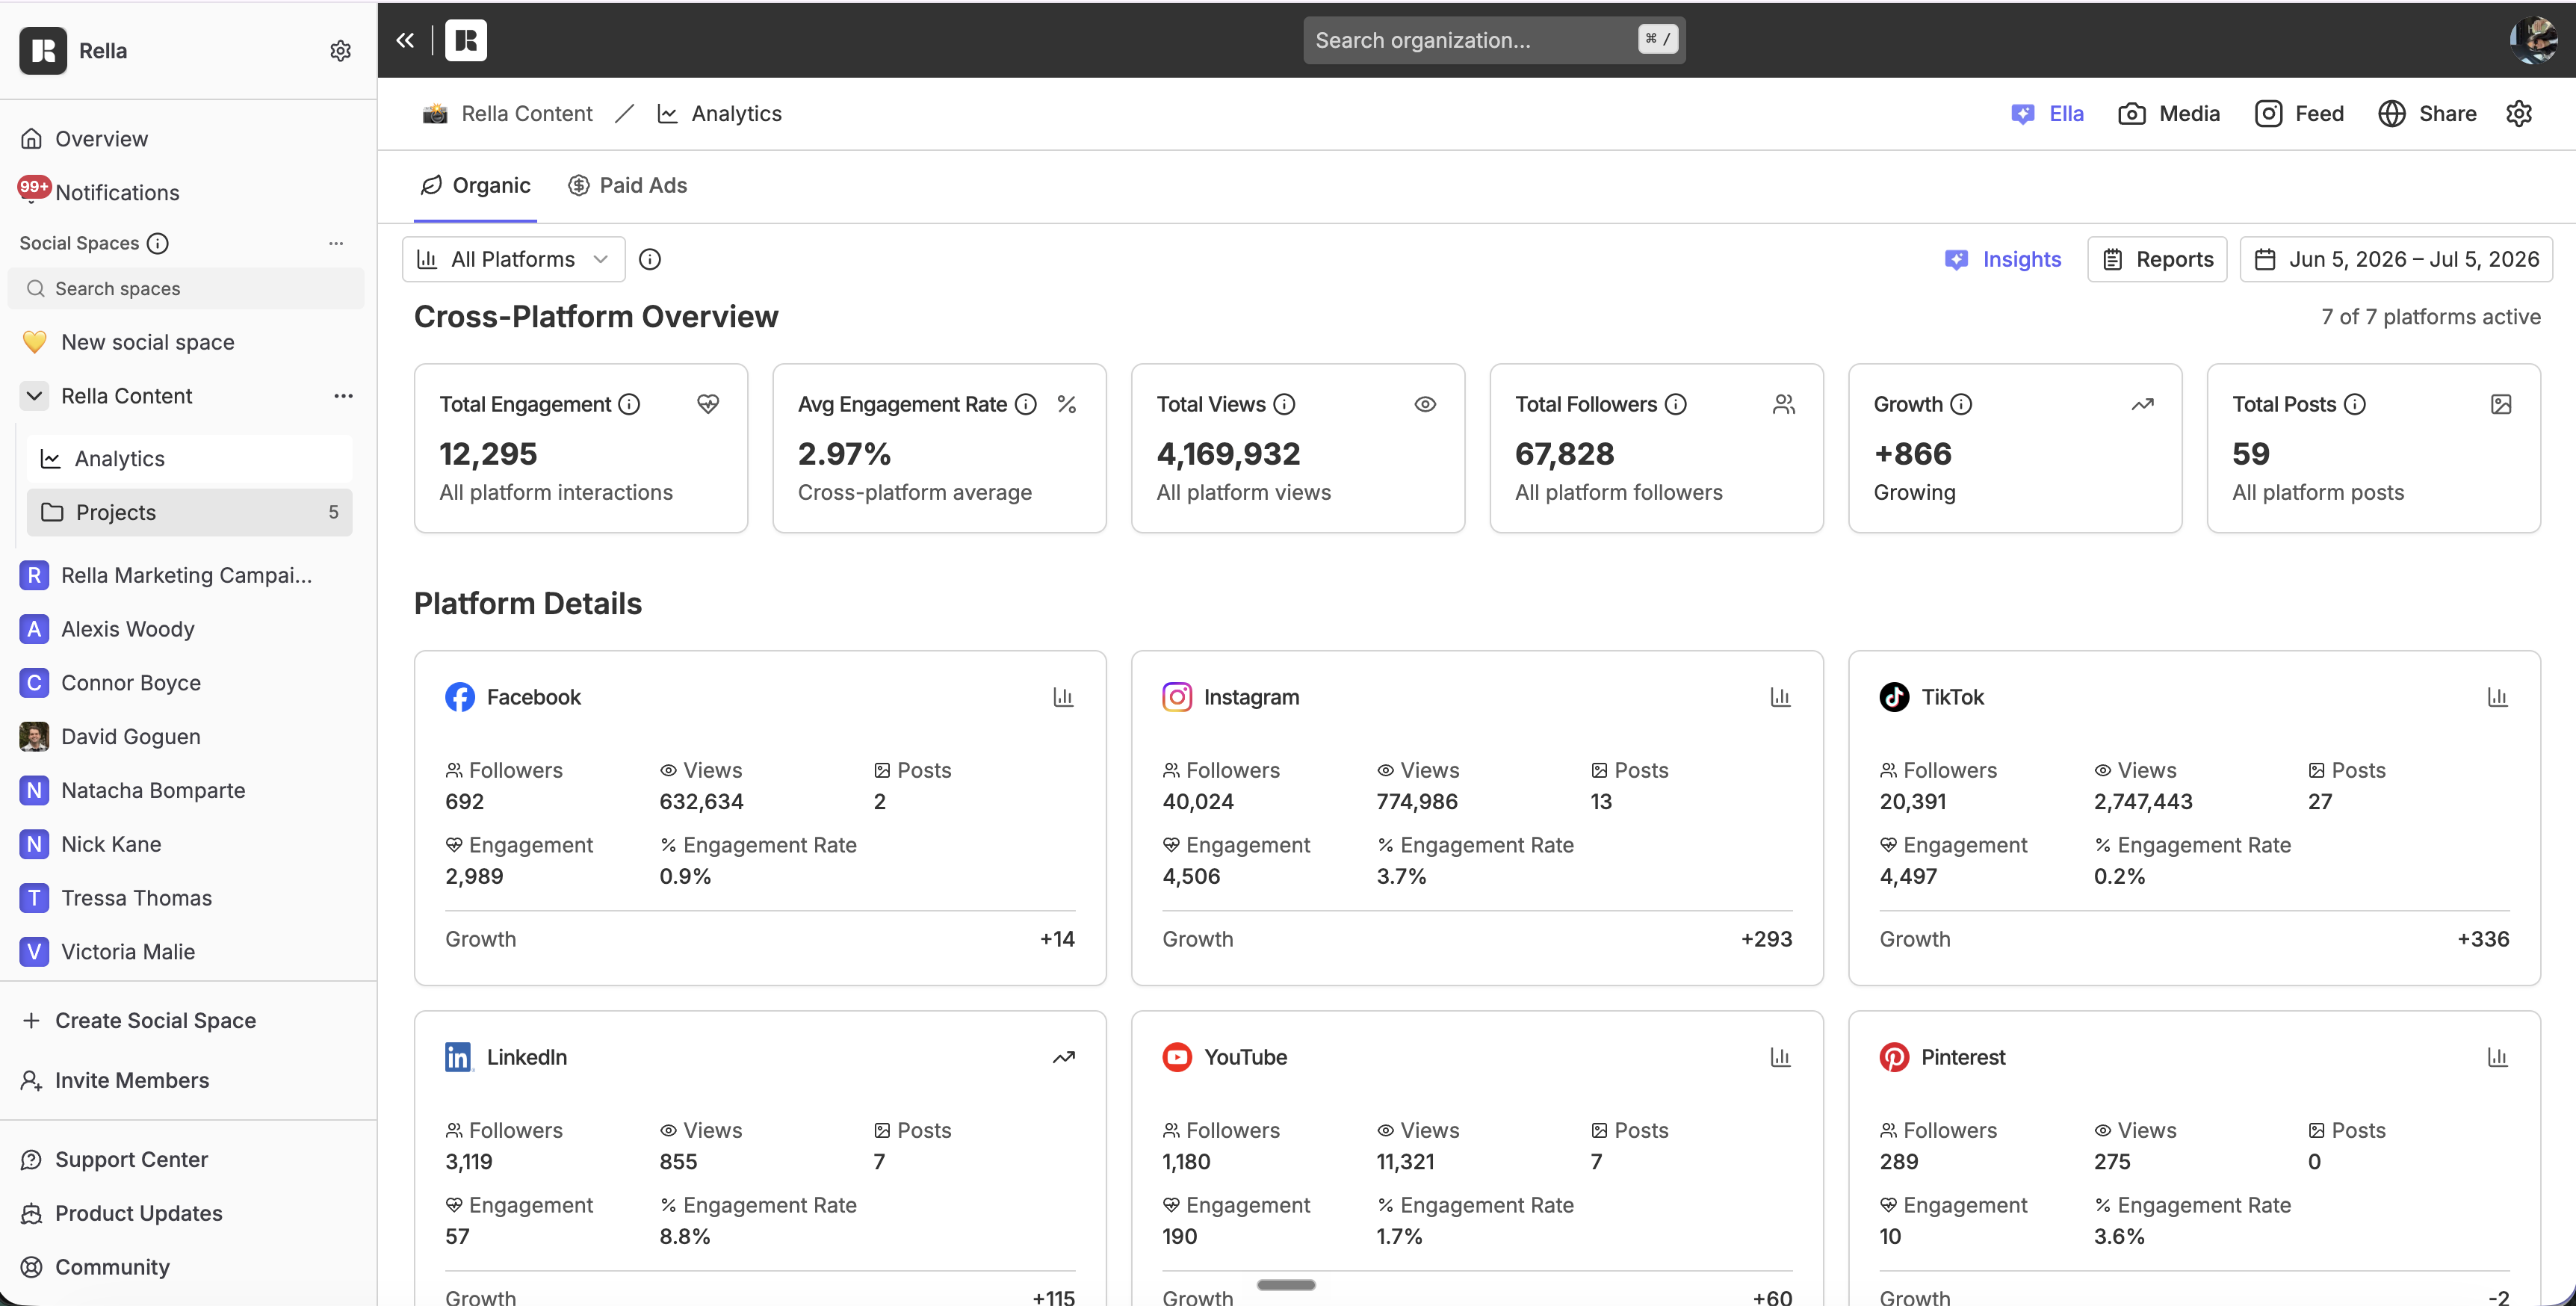
Review high-level brand health across all channels or drill down into platform-specific performance.
Generate and share reports
Navigate to Analytics.
Select your date range and view cross-platform metrics or individual platform breakdowns.
Click Export or generate a public report link to share with stakeholders.
Set up a monthly Ella Workflow to automatically generate and send reports to your inbox.
9. Install Rella on Mobile
Access your Calendar, review Content, and receive notifications on your mobile device via the web app.
Add to Home Screen (iOS & Android)
Open your mobile browser and navigate to
app.getrella.com.Tap the Share button (iOS Safari) or the Menu icon (Android Chrome).
Select Add to Home Screen.
Open the installed app from your home screen and enable push notifications when prompted.
Getting Started FAQs
How many Social Spaces can I create?
You can create unlimited Social Spaces. Each Social Space functions as an independent workspace for a distinct brand or client.
Do clients need a paid seat or Rella account to approve Content?
No. Clients can view, comment on, and approve Content through public share links without creating an account or logging in.
Can I plan content for platforms that are not directly integrated?
Yes. You can create custom platforms with custom color coding in your Social Space settings to plan content for newsletters, blogs, or other non-direct channels.
Can Ella automatically schedule posts to my Calendar?
Yes. When Ella generates Content ideas or Workflow suggestions, you can approve them to add them directly to your scheduled Calendar.