Customize Your Rella Workspace
Last updated: June 2, 2026
About Customization in Rella
Rella's customization isn't just cosmetic. Color-coded platforms make your calendar scannable at a glance, custom statuses keep your team's workflow language consistent, and whitelabeling lets agencies present Rella as their own branded tool to clients.
Customization happens at three levels, each with its own scope:
Profile — your personal identity within Rella (name and photo)
Social Space — the look, platforms, and statuses for each individual brand or client
Organization — agency-wide branding and whitelabeling applied across the entire interface
You can customize all three independently, so your personal profile doesn't affect your client Spaces, and each Space can have its own color system and terminology.
How to Customize Your Profile
Navigate to Profile Settings from your account menu.
Click the avatar icon next to your name to upload a new profile picture (PNG or JPG). Then locate the Display Name field, enter your preferred name, and click Save. That's the full profile setup — clean and quick.
How to Customize Your Calendar
Navigate to Profile Settings from your account menu.
Scroll down to Calendar and select:
What day of the week should your calendar start on?
How should your content be color-coded in the calendar?

How to Customize a Social Space
Open the Social Space you want to update
Click the Space name or icon to open Space Settings
Click the avatar icon to upload a logo or brand image
Click Save to apply.

Custom & Standard Platform Colors
Still in the Space tab, scroll to Platform Display Settings.
Click the color picker next to it and select a new shade. For platforms like Instagram, you can go further and set different colors for specific content types, like Reels vs. Posts, so they're instantly distinguishable on a crowded calendar.
If you manage channels Rella doesn't natively list — an email newsletter, a podcast, a blog — click Add Platform (+) to create a custom planning surface with its own name and color. It'll appear as a platform option when creating posts in that Space.
To reset any standard platform back to its original brand color, click the Reset icon next to it.

Creating and Editing Statuses
Navigate to Space Settings and click the Statuses tab.
To create a new status, click the Plus (+) icon within one of the four categories.
To rename a status, click its name to enter edit mode.
To change a status color, click the color circle next to the status name and use the color picker.
You can drag and drop statuses between categories to reorganize your workflow.

Content vs. Task Statuses
While you manage one master list of statuses for your Social Space, you can choose exactly which ones apply to Content and which apply to Tasks.
Applied Statuses: In the Statuses tab, scroll down to the Applied Statuses section. Use the toggles to enable or disable specific statuses for each entity type.
Why this matters: This allows you to have specific steps for post approvals (like "Legal Review") that only appear for Content, while keeping your Task list focused on simple to-dos like "Pending" or "In Progress."
Navigate there: Social Space → Space Settings → Statuses tab
How to Set Up Organization Branding & Whitelabeling
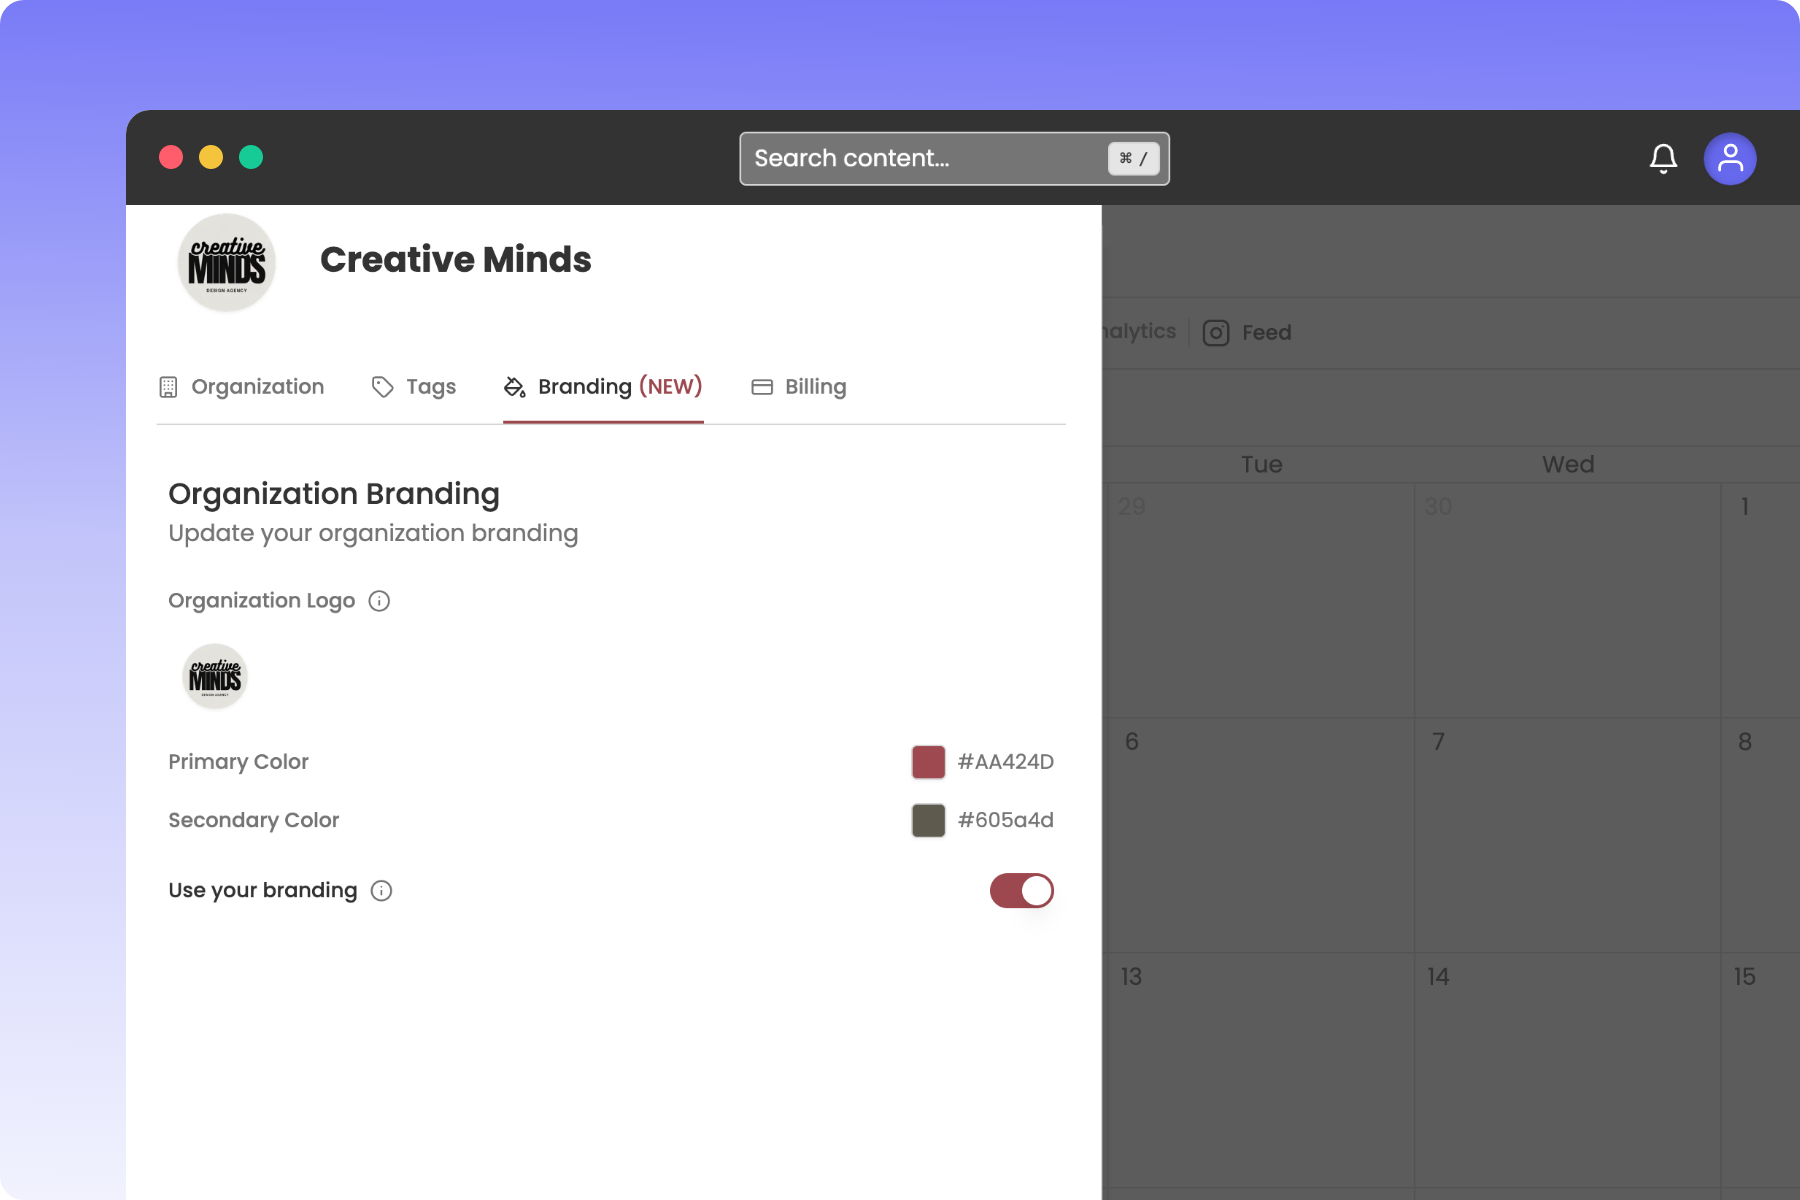
Whitelabeling require a Premium Plus subscription
Organization Logo: Click the uploader circle to upload a PNG, JPEG, or JPG. We recommend using a high-resolution logo with a transparent background.
Primary Color: Click the color field to select your primary brand color. This themes major buttons and accents across your workspace.
Secondary Color: Click the color field to select your secondary accent color.
Toggle on the White-labeling Switch to apply these colors and logo styles across your client-facing pages.
Click Save.
Frequently Asked Questions
Can I reset a platform color back to the original?
Yes. In Platform Display Settings, click the Reset icon next to any standard platform to return it to its default brand color. Custom platforms don't have a reset option since there's no default to return to — just delete and recreate if needed.
Does whitelabeling require a specific plan?
Yes, whitelabeling is available on Premium and Premium Plus plans only. If you're on a lower tier and don't see the toggle in Organization Settings → Branding, upgrading your plan will unlock it.
Will my clients see my whitelabeling?
When you turn on custom branding, clients will no longer see Rella's logo and they will see your organization logos and custom colors. This will feel like an internal tool rather than a third-party software.
Can I use a different branding setup for each Social Space?
Organization branding (logo, colors, whitelabeling) applies across your entire Rella account — it's not Space-specific. Space-level customization (name, logo, platform colors, statuses) is fully independent per Space, so each client's Space can have its own visual identity without affecting the others.
Do custom statuses affect when my posts auto-publish?
Not by default. Statuses are purely organizational unless you turn on approval rules, which let you restrict approvals to only posts in a specific status. You can enable this per post or across an entire Social Space — but it's off until you switch it on, so changing your status colors won't affect your publishing schedule on its own.