Track Content Tasks & Deadlines
Last updated: June 4, 2026
Executing a consistent social media strategy requires managing multiple moving parts, from filming clips to writing captions. Rella's Tasks tool lets you build collaborative checklists, set deadlines, and delegate actions to keep your production pipeline moving.
Standalone Tasks vs. Linked Content Tasks
In Rella, Tasks can be organized in two different ways depending on your workflow:
Standalone Tasks: Independent work items that sit directly on your Calendar or Board (for example: "Q3 Planning Meeting" or "Source Props"). These are perfect for general administrative or prep steps.
Linked Content Tasks: Sub-tasks or checklist items nested directly inside a specific Content draft (for example: "Write Voiceover Script" or "Record TikTok transition"). These are linked directly to your post pipeline.
How to Create and Schedule Standalone Tasks
Steps
Navigate to your Calendar or Board view inside your active Social Space.
Click the central Create button in your navigation header, then select Task (or click directly on any empty cell on your calendar).
Under the Task Name field, type your production step.
Click the Schedule field to assign a due date or set a specific completion time.
Click Save.
Your standalone task is now displayed on your calendar. You can drag and drop the task card to reschedule it to a new day or time.
What you can do:
Title the task
Add a status
Mark the task as complete
Assign the task to a project
Add tags for easy filtering and organization
Assign a start and end date
Attach the standalone task to a piece of content if needed
Add a note associated with the task
View the activity history to see all updates and changes
Communicate with your team using private or public comments within the task
Custom Statuses on Tasks
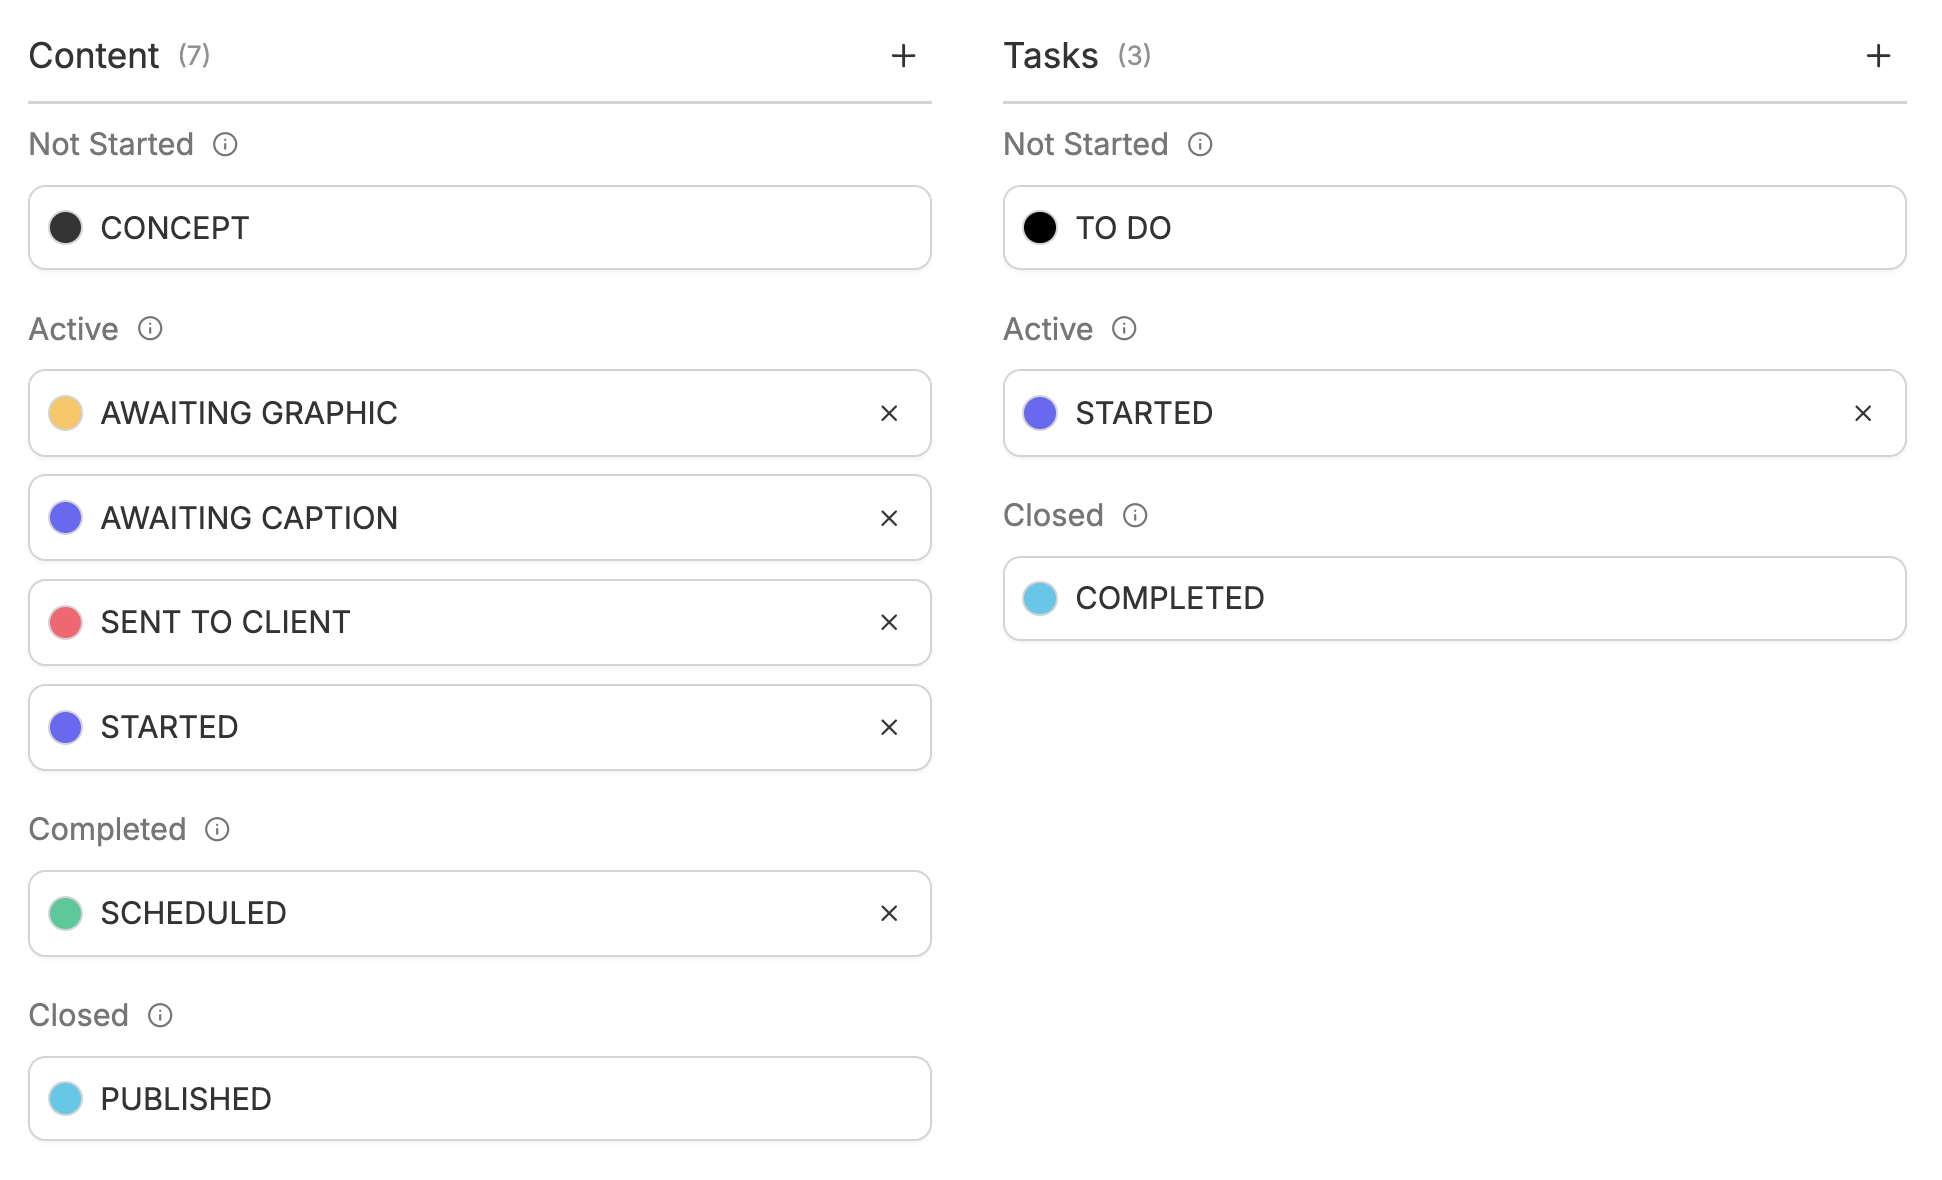
Tasks can have their own Statuses, separate from your content statuses. This means you can customize how tasks move through your workflow independent of how your content is organized. To set up task statuses, click "Statuses" in the top right of your dashboard and create a separate status list for tasks.
How to Manage Linked Tasks Inside a Post
For detailed post-production steps, you can create and manage checklists nested directly inside your post drafts.
Steps
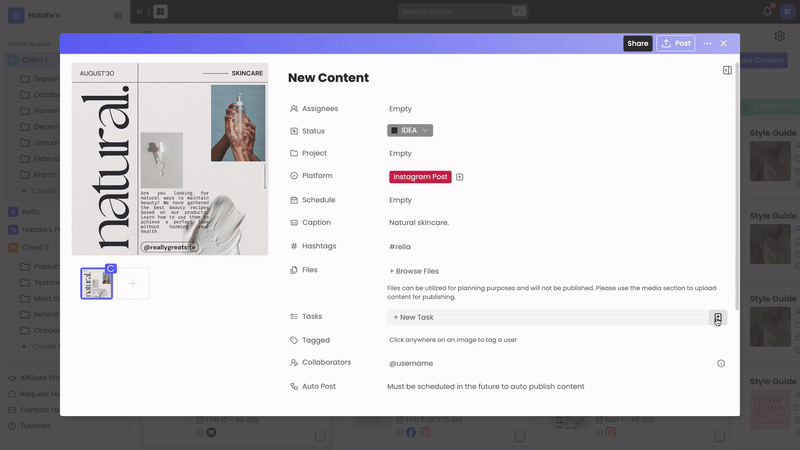
Double-click any post on your Calendar or Board to open the Content editor.
Scroll down to the Tasks card in the details panel on the right.
Type a checklist item into the New Task input box and press Enter.
To configure additional details for a sub-task:
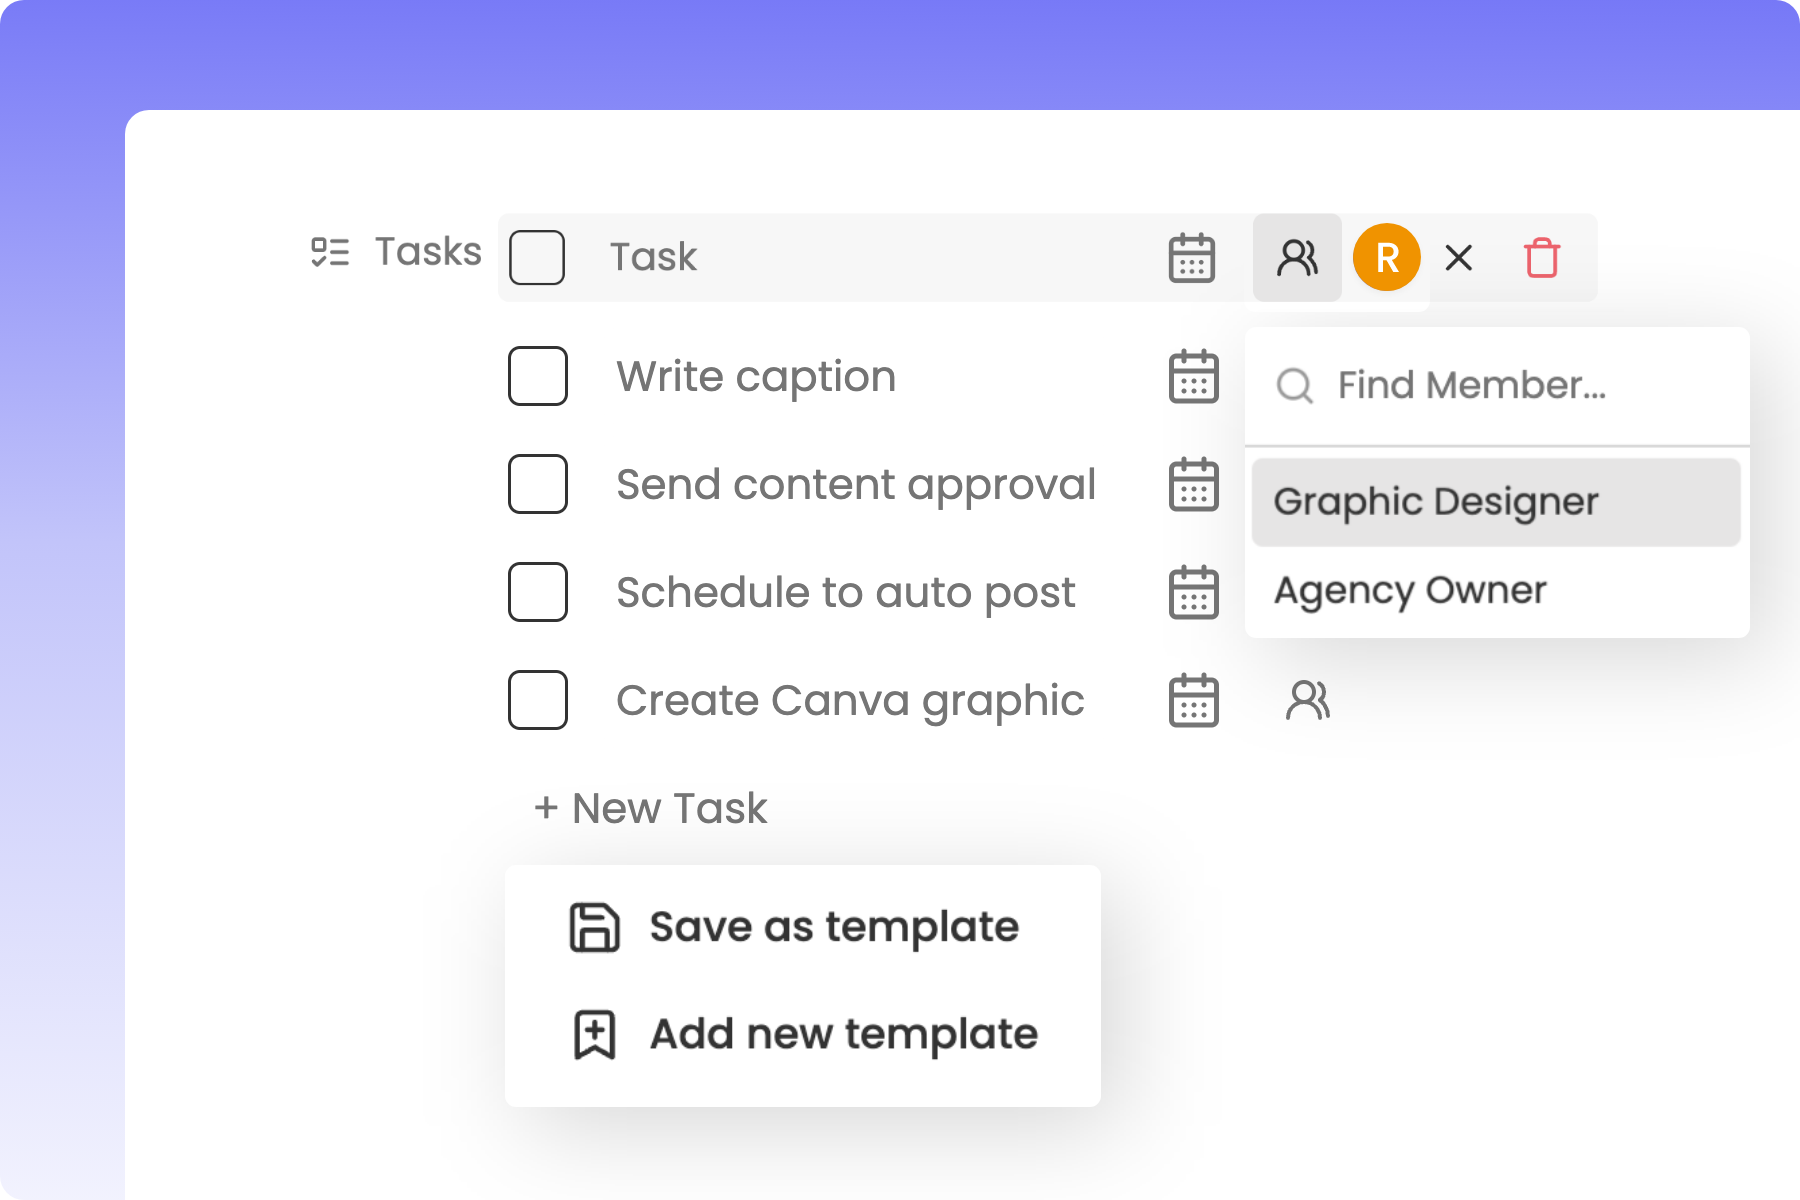
Set Status: Click the Status square icon on the task tile to mark it as To Do, In Progress, or Completed.
Assign Team Members: Click the Assignees (user icon) to select who is responsible for completing that specific task.
Add Due Dates: Click the Calendar icon to set a deadline for that task.
Expand Details: Click View Task (the expansion icon) to open the full task sheet where you can write custom Notes, select Tags, or link the task to a wider Project.
How to Unlink a Task from a Post
If a nested sub-task expands into a larger project that needs its own slot on the calendar:
Open the Content editor and find the nested checklist.
Hover over the task tile and click Unlink (the broken chain icon).
Once unlinked, the item is converted into a standalone task. You can now schedule it for its own date and time, and it will appear on your main calendar separately from the original post.

Task and Deadline FAQs
Can I view all of my assigned tasks in one place?
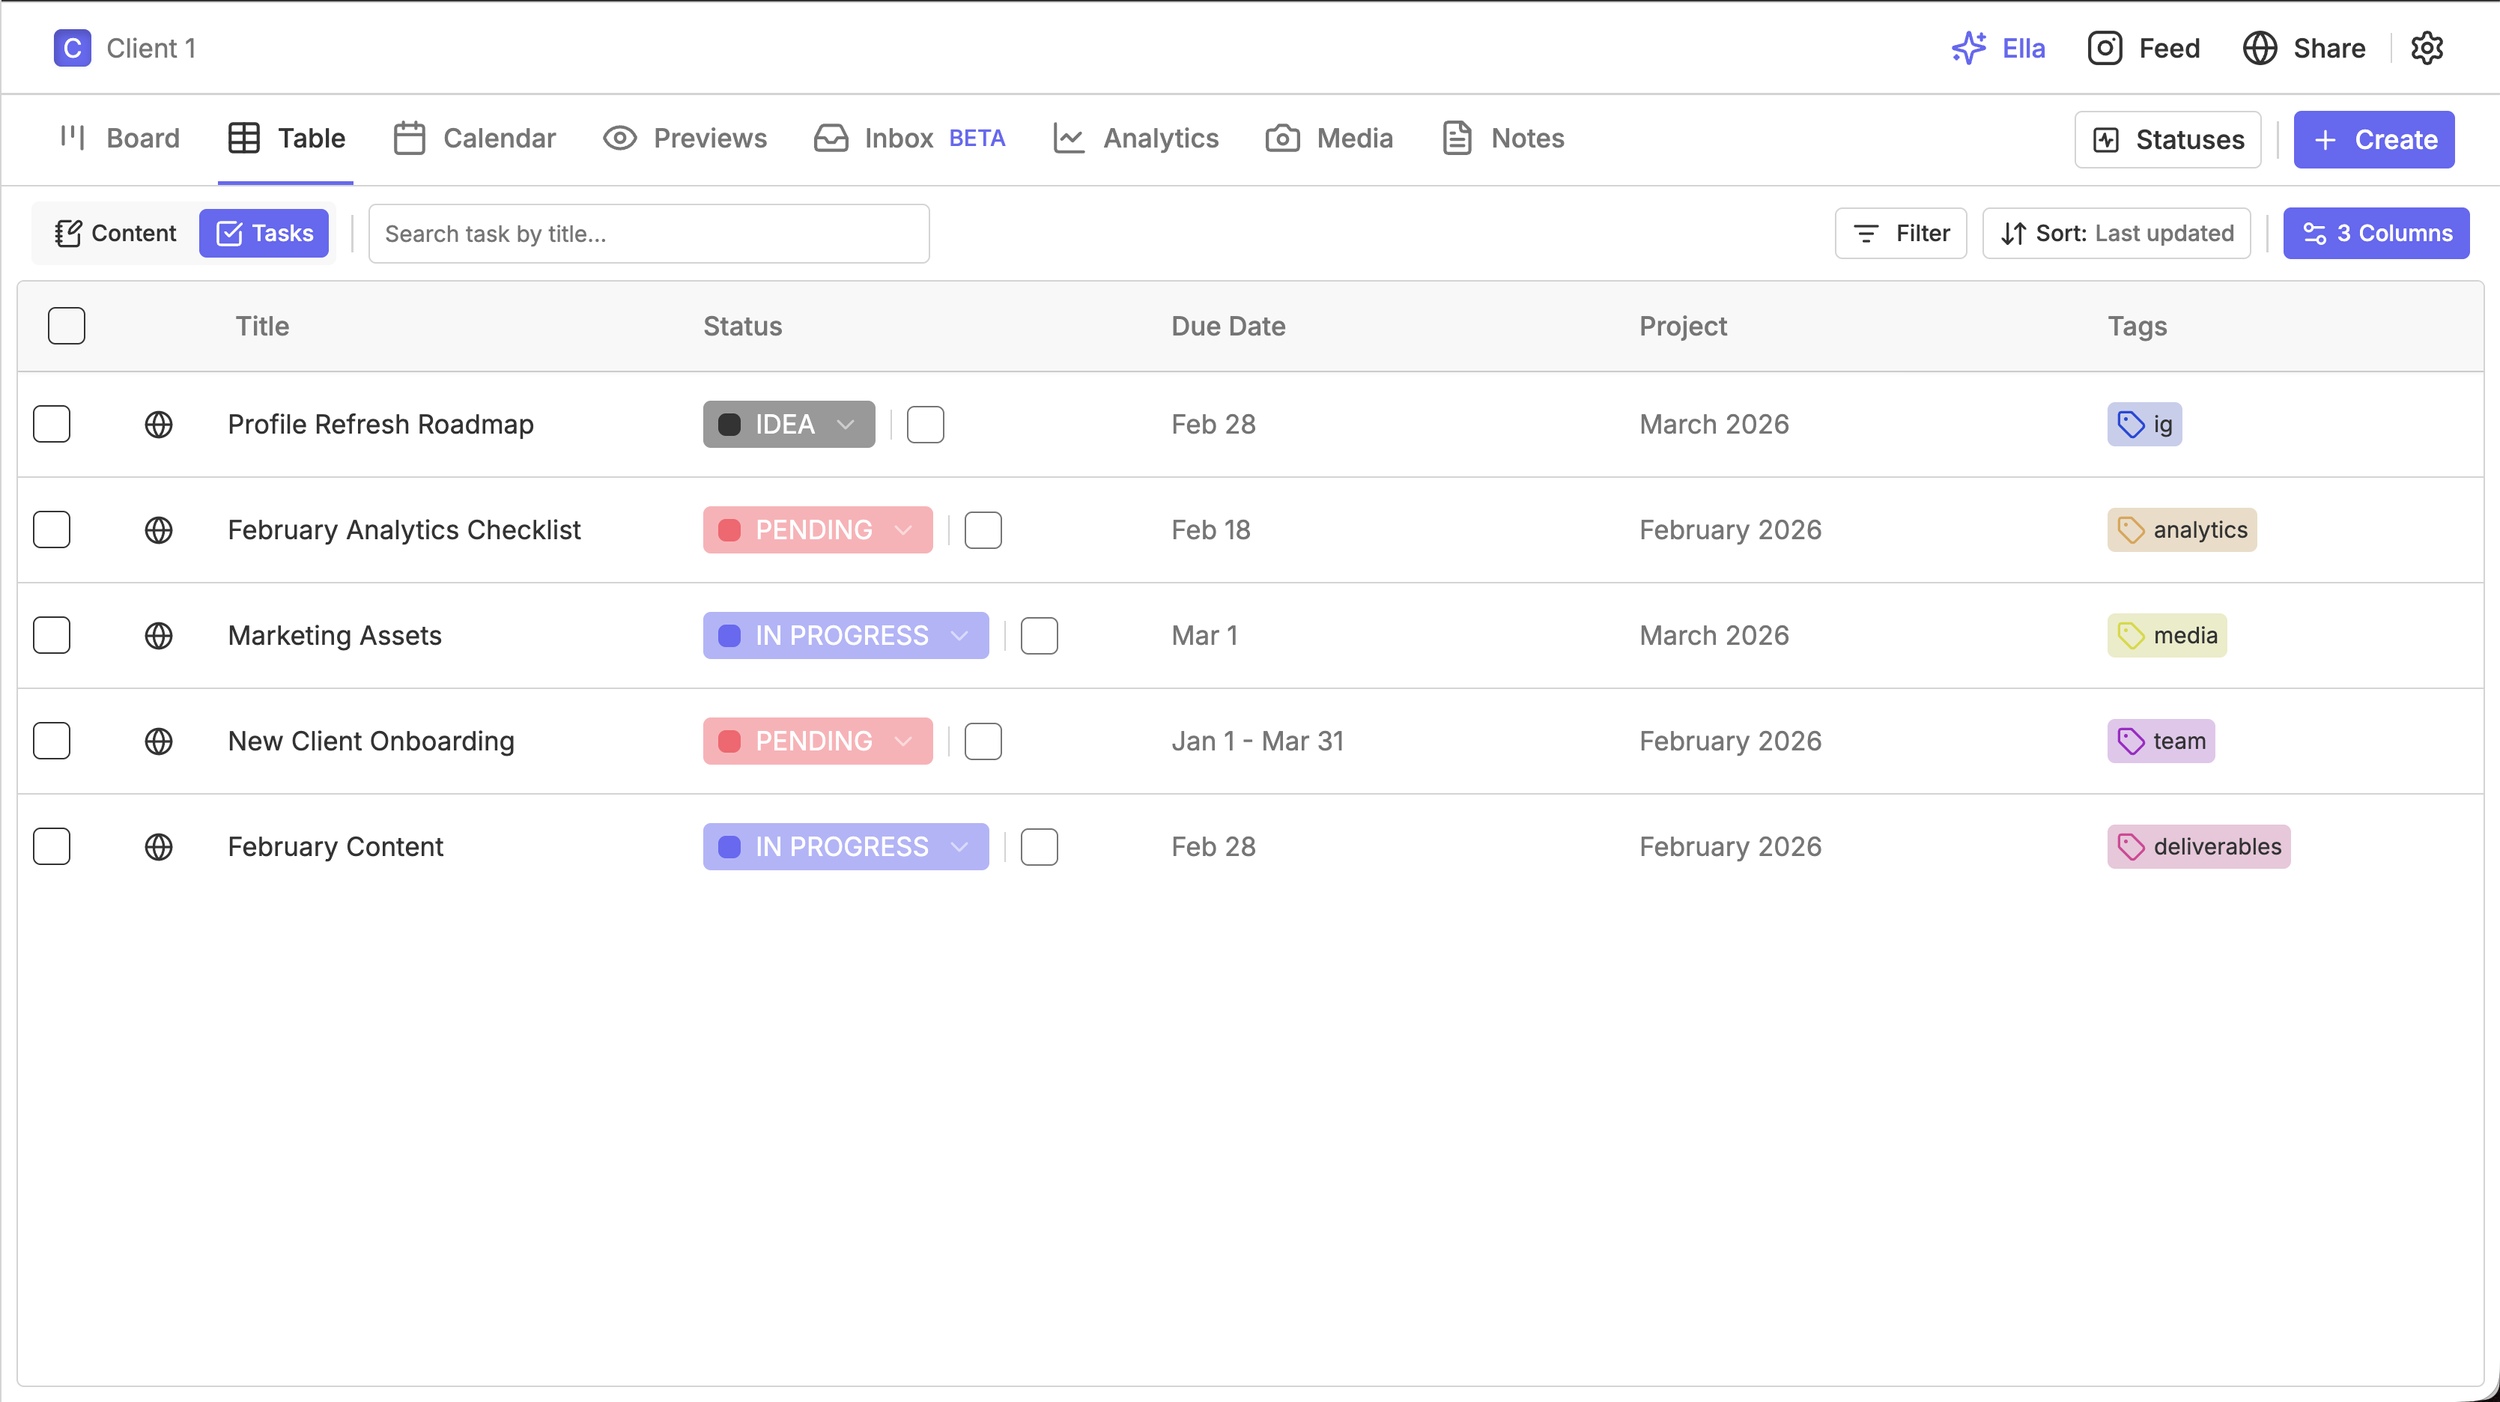
Yes. Open your main Calendar or Board dashboard and click Filters in the top-right header. Toggle Content off and keep Tasks toggled on, then filter by your name under Assignees to view your personalized to-do list.
What happens to linked tasks if I delete the parent post?
By default, deleting a post will also delete its nested sub-tasks. If you want to delete a post but preserve its checklist, ensure you Unlink those tasks first to convert them into standalone items.