Schedule and Autopost Your Social Media Content
Last updated: June 9, 2026
Automating your social media posts removes manual friction and keeps your feed consistent. With Rella's Auto Post feature, you can plan your posts, specify platform-specific settings, and let Rella publish them directly to your active channels.
About Content Scheduling & Publishing
Every piece of Content you plan in Rella is anchored to your Calendar, Board, or Table. You can set specific publication times for each item, decide whether you want to automatically publish to your networks, or use manual scheduling as a strategic placeholder for drafts that require final coordination.
Ensure your target social accounts are fully connected and valid (not expired) in your Social Space settings.
Auto-publishing is supported for Professional (Business or Creator) profiles across Facebook, Instagram, TikTok, LinkedIn, YouTube, Pinterest, Threads, X, and Google Business Profile.
Resource: 📄 Link & Manage Social Media Accounts in Rella
Before You Start
- You must connect at least one valid social platform account to your Social Space.
- You must have an editor role or above in the Social Space to schedule Content.
- Custom (planning-only) platforms do not support automatic publishing.
How to Schedule Your Content
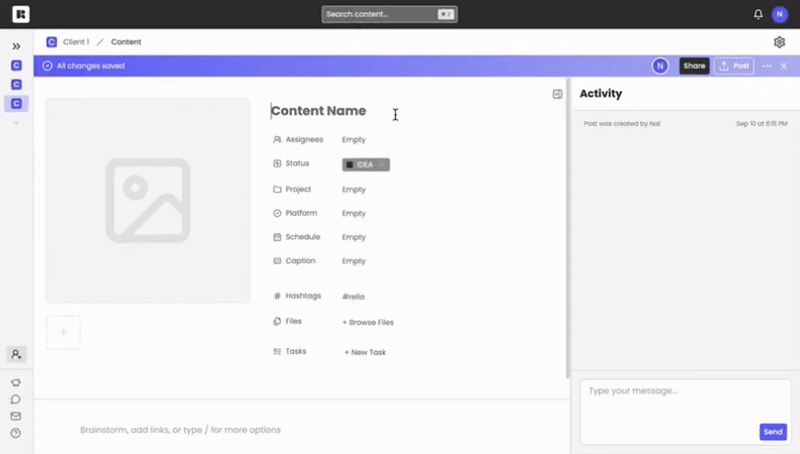
Open a Content card from your Calendar, Table, or Board view.
In the post editor panel, look for the Scheduled Time field.
Click the schedule trigger button to open the calendar date and time picker.
Select your target publishing date from the grid.
Set your target publishing hour and minute in the Scheduled Time input box.
If you want to plan a post for a specific date without specifying a precise hour, check the All Day box.
Note: Checking All Day automatically schedules the post to default to
12:00 PMin your current local timezone.
Click the Clear button if you want to unschedule the item and return it to your drafts list.
Real-Time Readiness Checks
When you enable Autopost, Rella runs real-time readiness checks to ensure your post is completely valid for publishing. If there are any validation issues (such as missing required fields, expired account tokens, or invalid media formats), Rella displays a warning notice under your platform.
To resolve issues one by one:
1. Review the validation warning in the Autopost section.
2. Click the actionable link next to the warning to jump directly to the field that needs attention.
3. Once corrected, the status updates to passing automatically.
Using the Fix All Wizard
If your post has multiple validation errors, you can fix them all in sequence using the built-in wizard.
1. Click Fix All on the content card.
2. Follow the guided prompt wizard as it walks you through each validation block in order.
3. Fix each error (for example, cropping an image to the correct aspect ratio or adding a required title).
4. Click Next in the wizard to move to the next issue.
5. Once all issues are resolved, click Finish. Rella marks your post as ready for automatic publishing.
Auto-Publish vs. Manual Publishing
When setting up your post, you must choose between letting Rella publish for you automatically or handling the post manually.
Auto-Publish (Autopost): Rella connects directly to your social network APIs. When your scheduled time arrives, our system automatically pushes your caption, media, and platform-specific metadata directly to your live profile.
Manual Publishing: If a platform does not support direct posting or you prefer to make live edits at the time of publication, you can keep Auto-Publish turned off. Rella will display the post on your calendar as a reminder, send team notifications, and let you download the Media files to publish manually.
Auto Post Settings Explained
Auto Post settings control when your Content publishes, whether Rella publishes it automatically, and what post details are sent to each platform.
Scheduled Time
Use Scheduled Time to choose when your Content should publish. This controls the date and time Rella uses for scheduled publishing.
All Day
Use All Day when you want to place Content on a specific date without choosing an exact time. When All Day is turned on, Rella schedules the post for 12:00 PM in your current local timezone.
Auto Post
Use Auto Post when you want Rella to publish your Content automatically at the scheduled time. Rella sends your caption, Media, and platform-specific settings directly to your connected social accounts.
Manual publishing
Leave automatic publishing off when you want to schedule Content without having Rella publish it for you. This works well when you want to use the scheduled date as a planning placeholder or handle final publishing yourself.
Connected accounts
Before using Auto Post, confirm the social accounts in your Social Space are connected and still valid. If an account is expired or disconnected, the scheduled post may not publish as expected.
Platform-specific settings
Use platform-specific settings to tailor how the post is published on each network. Review these settings before the scheduled publish time so each platform version of the post is ready to go.
Clear
Use Clear to remove the scheduled time from a piece of Content. This moves the item back to drafts.
Auto Post FAQs
What happens when I turn on All Day?
Rella schedules the post for 12:00 PM in your current local timezone when All Day is turned on.
Can I schedule Content without turning on Auto Post?
Yes. You can schedule Content as a planning placeholder and publish it manually later.
Resource: 📄 Post Content Manually
What should I check before using Auto Post?
Make sure the target social accounts are connected and still valid in your Social Space settings before the scheduled publish time.
What should I review in Auto Post settings before a post goes live?
Check the scheduled time, publishing method, connected account status, and any platform-specific settings attached to the post before the scheduled publish time.
What does Clear do?
Clear removes the scheduled time from the post and returns it to drafts.